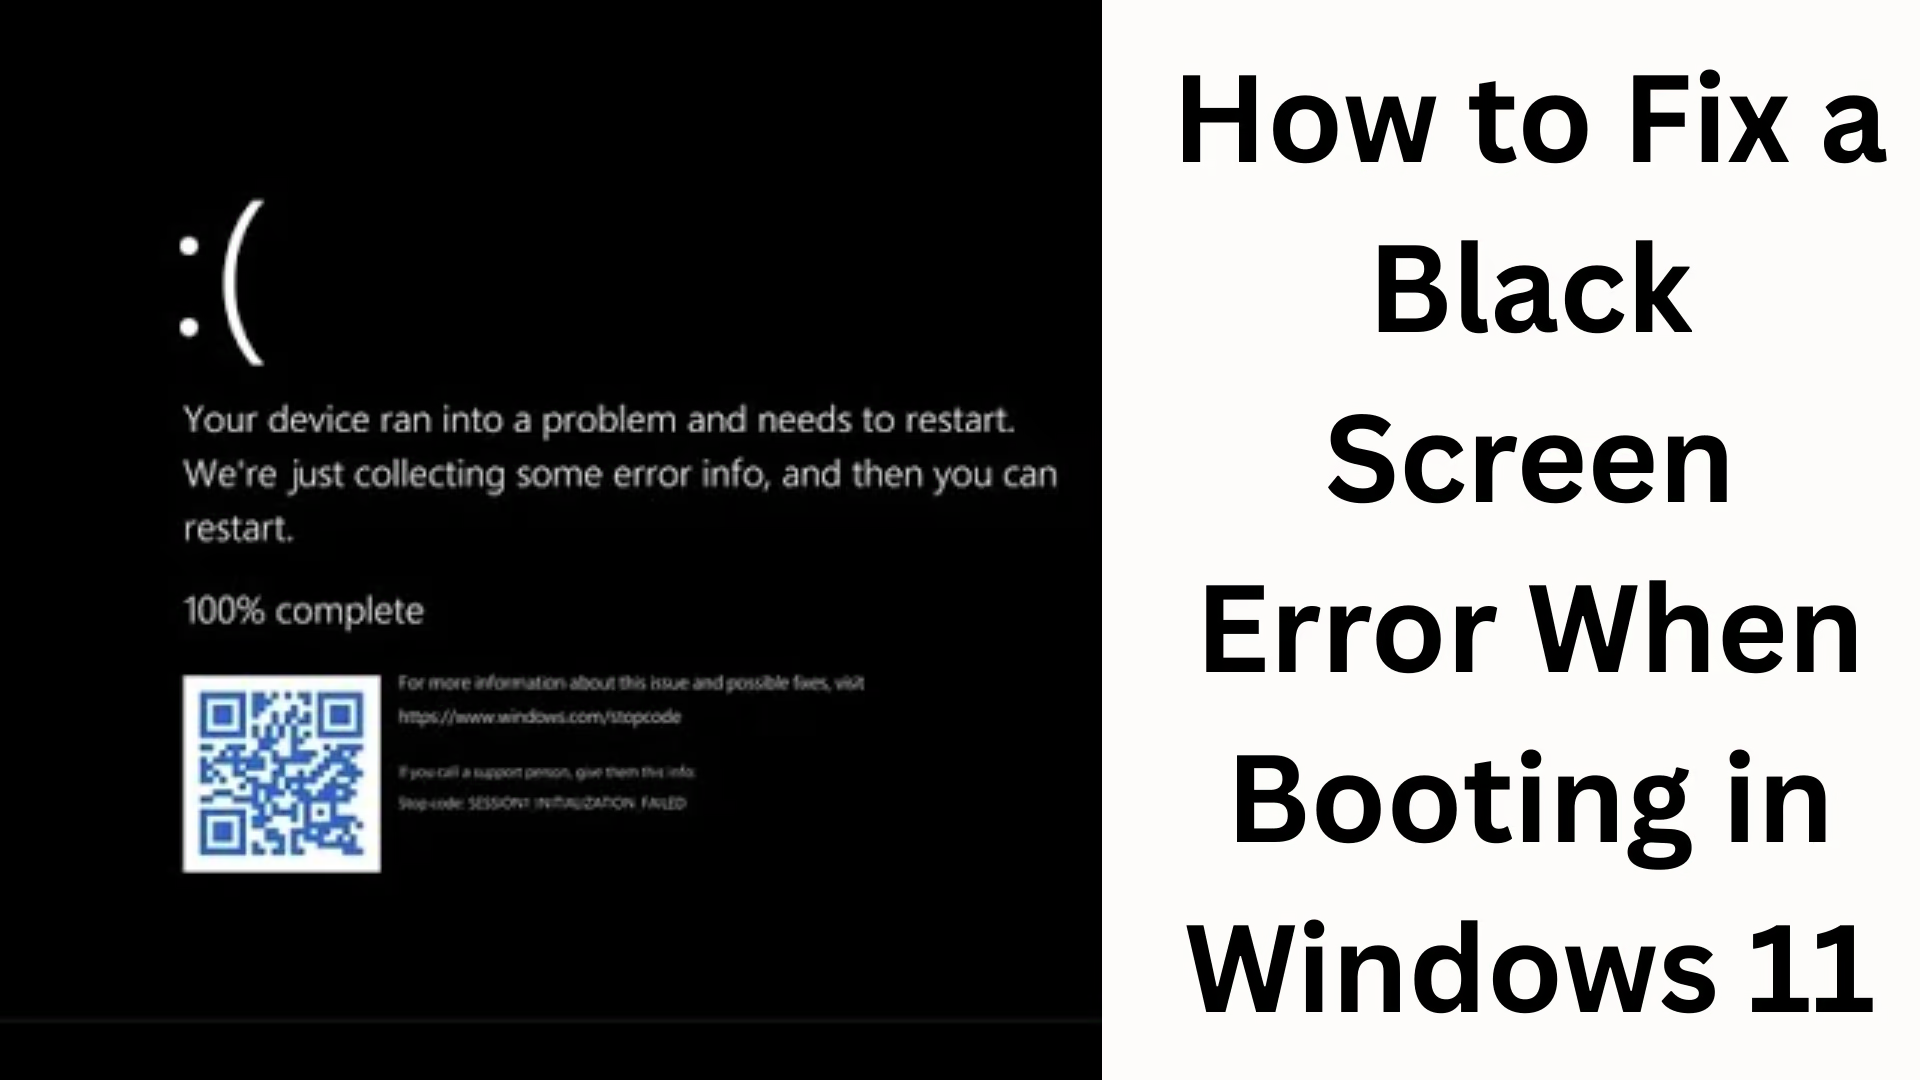
A Black Screen at Boot is a common issue in Windows 11, where the screen remains completely black after the system boots. This problem can occur due to several reasons, such as incorrect display settings, driver issues, corrupt system files, or hardware faults. In this detailed guide, we discuss the best ways to fix a Black Screen at Boot in Windows 11 permanently.
What is a Black Screen at Boot and Why Does It Occur?
When Windows 11 boots and a black screen appears instead of the login screen, it is called a Black Screen at Boot. The main causes can be:
Display Output Issue
Corrupted Graphics Driver
Windows Update Conflicts
Fast Startup Errors
External Device or Hardware Problem
System File Corruption
1. Disconnect External Devices
Sometimes external devices affect the Windows boot process. First, remove these devices:
USB Drive
External HDD/SSD
Printer
Bluetooth Adapter
HDMI/VGA Cable (if using multiple displays)
Restart the system after removing the devices.
2. Fix a Black Screen by Booting in Safe Mode
Safe Mode runs the system without third-party drivers and extensions, making it easier to identify and fix the problem.
Steps to enter Safe Mode:
1. Enter Automatic Repair Mode by turning the PC on/off three times.
2. Select Troubleshoot.
3. Then, select Advanced options → Startup Settings → Restart.
4. On restart, press F5 and select Safe Mode with Networking.
Display and driver problems can be easily resolved once the system is stable in Safe Mode.
3. Reset Display Settings
A common cause of a black screen during boot is the wrong selection of display output. To fix this:
Press Win + Ctrl + Shift + B simultaneously.
This refreshes the display driver.
If you’re using multiple screens, press Win + P and select Only PC Screen.
4. Update or Reinstall the Corrupted Graphics Driver
The black screen issue is most commonly caused by a corrupted graphics driver.
Driver Update Steps:
1. Open Safe Mode.
2. Open Device Manager.
3. Go to Display Adapters.
4. Select the installed graphics driver and click Uninstall Device.
5. Then restart the PC. Windows will automatically install the driver.
Alternatively, you can download the latest driver version from the official NVIDIA/AMD/Intel website.
5. Disable Fast Startup
Fast Startup sometimes prevents boot files from loading properly, causing the black screen issue.
Steps to disable:
1. Open the Control Panel.
2. Click Power Options.
3. Choose what the power buttons do.
4. Uncheck Turn on fast startup.
5. Save and restart the PC.
6. Restart the Windows Explorer Process
If Windows Explorer won’t load, the screen may remain black.
1. Open Task Manager by pressing Ctrl + Shift + Esc.
2. Select Windows Explorer.
3. Click Restart.
7. Repair corrupt files with System File Checker
Repairing corrupted Windows files can quickly fix the problem.
Open Command Prompt and run the following commands:
“`
sfc /scannow
“`
If this doesn’t resolve the issue, run this command:
“`
DISM /Online /Cleanup-Image /RestoreHealth
“`
Both commands repair system files and stabilize the Windows boot process.
8. Run the Startup Repair Tool
Windows’ built-in Startup Repair Tool detects and fixes boot issues.
Go to Automatic Repair Mode
Troubleshoot → Advanced Options → Startup Repair
Allow the system to auto-troubleshoot.
9. Use System Restore
If the black screen issue started after an update or software installation, System Restore is helpful.
Steps:
Troubleshoot → Advanced Options → System Restore
Select a Restore Point
Restore the system to a previous stable state
10. Reset BIOS/UEFI Settings
Sometimes, incorrect BIOS settings, Secure Boot, or Display Settings can cause boot interruptions.
Restart the PC and enter the BIOS (usually by pressing F2, Del, or F10).
Select Load Setup Defaults
Save and Exit
11. Rollback Windows Updates
Sometimes a new update comes with bugs. Uninstalling recent updates is helpful.
Open Safe Mode
Settings → Windows Update → Update History → Uninstall Updates
12. Check for Hardware Issues
A black screen may occur if there is a hardware fault. Check these things:
Remove and reinsert the RAM
Replace the monitor cable
Check if the GPU card is in the correct slot
Power supply issue
For hardware faults, technician support would be appropriate.
Conclusion
The Black Screen at Boot issue in Windows 11 can occur for a variety of reasons, but it can be completely fixed with the verified solutions above. First, try basic solutions like Display Refresh, External Device Removal, and Safe Mode. If the problem persists, a driver reinstall, System Restore, or Startup Repair may be helpful.
Want to grow your website organically? Contact us now
Below are some frequently asked questions (FAQs) related to the Black Screen at Boot in Windows 11:
What is the most common cause of a Black Screen at Boot in Windows 11?
The most common causes are display driver corruption, incorrect display output selection, Windows update conflicts, and fast startup errors, which prevent the system from booting properly.
Does Safe Mode help fix the Black Screen issue?
Yes, Safe Mode runs the system without third-party drivers and extensions, making it easier to identify and fix problems. You can update, reset, and troubleshoot drivers in Safe Mode.
Which shortcut keys help when you encounter a Black Screen?
You can use the following shortcut keys:
Win + Ctrl + Shift + B – Display Driver Refresh
Ctrl + Shift + Esc – Open Task Manager
Win + P – Display Mode Switch
Can a Windows Explorer error also cause a Black Screen?
Yes, if the Windows Explorer process doesn’t start, the desktop won’t load, and a black screen appears. Restarting Explorer from Task Manager often resolves this issue.
Can a black screen also be caused by a hardware problem?
Yes, a black screen can occur if there’s a fault in the RAM, GPU, monitor cable, or power supply. In such cases, a hardware test is necessary.
What should you do if a black screen appears after an update?
You can uninstall recent Windows updates:
Go to Safe Mode
Settings → Windows Update → Update History → Uninstall Updates
This removes bugs caused by the update and restores the system to its previous state.
Can a System Restore fix a black screen?
Yes, if the problem occurred after a software installation, driver update, or system change, performing a System Restore can fix the problem by restoring the system to a previous stable state.
Can a BIOS reset fix a black screen?
Yes, if the problem is caused by incorrect BIOS settings or Secure Boot configuration, resetting the BIOS to default is a useful and effective solution.