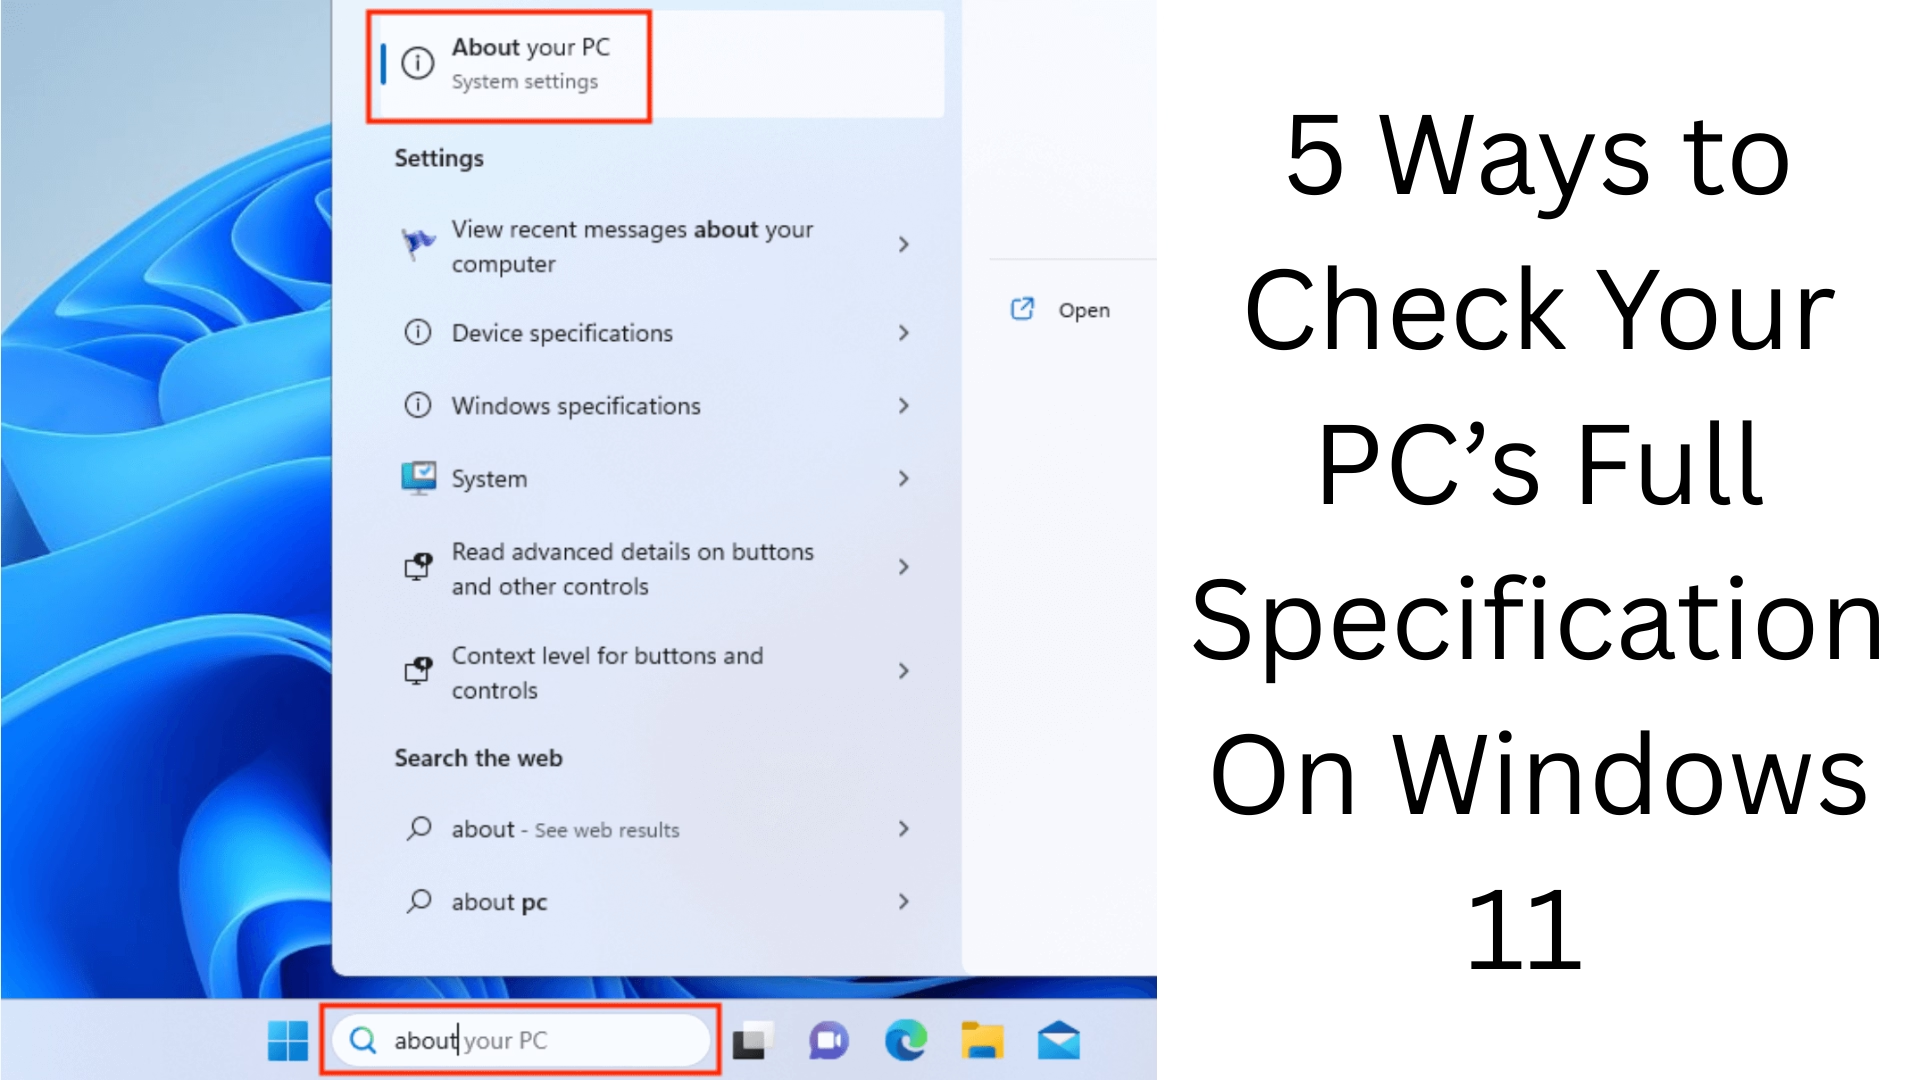
Windows 11 users need to know their computer’s specifications. Whether you’re looking to install new software, check your gaming capabilities, or give information to a technical support team, it’s important to know your PC’s hardware and system details. Below, we’ve detailed 5 effective ways to check your PC’s full specifications in Windows 11.
1. View PC Specifications through Settings
Settings is the easiest way to know the basic information about your computer. In this method, you can see device processor, RAM, system type, Windows edition, etc.
Steps:
1. Click on the Start Menu and open Settings.
2. Go to the System section.
3. Scroll down and click on About.
4. Here you can see the following information in the Device specifications and Windows specifications sections:
Processor
Installed RAM
System type (64-bit or 32-bit)
Pen and Touch support
Windows version, build, and install date
2. Know Advanced Details with the System Information Tool
System Information (msinfo32.exe) is a powerful tool that provides you with almost every information related to PC hardware.
Steps:
1. Go to the Start Menu and type System Information in the search box.
2. Press Enter and open the app.
3. Now, a detailed report will open in front of you in which you can see:
BIOS version/date
BaseBoard manufacturer
Physical memory
Processor details
Boot device
Secure Boot status
This method is useful when you want to go deep and know every small and big of information about the system.
3. Get PC information using Command Prompt
Through Command Prompt (CMD) you can quickly get information about your system without any GUI.
Steps:
1. Press Windows + R and type cmd, then Enter.
2. Now type this command:
“`
systeminfo
“`
3. After a few seconds, the complete details of your computer will appear on the screen, which will include:
OS Name
OS Version
System Manufacturer
System Model
BIOS Version
Total Physical Memory
This is a very useful and fast method for technical users.
4. View graphics and sound details through DirectX Diagnostic Tool (dxdiag)
If you want to get information about Graphics, Display or Sound Hardware then dxdiag tool is perfect for you.
Steps:
1. Press Windows + R and type dxdiag, then Enter.
2. A new window will open with the following tabs:
System: OS, processor, memory
Display: Graphics card, VRAM, driver details
Sound: Audio driver, manufacturer
Input: Input devices
This tool is used to check system compatibility for gaming and graphics-intensive tasks.
5. Third-Party Tool – Get In-Depth Specs with CPU-Z
If you want to see more technical details such as CPU architecture, Cache levels, Memory timings, and Motherboard chipset, CPU-Z is a well-known and trusted third-party tool.
How to use it:
1. Download and install the tool from the [CPU-Z website](https://www.cpuid.com/softwares/cpu-z.html).
2. After installing, open it and go to different tabs to get information:
CPU Tab: Processor name, code name, core speed, cache
Mainboard Tab: Manufacturer, BIOS, chipset
Memory Tab: RAM type, size, timings
SPD Tab: RAM slot details
With the help of this tool, you can analyze your computer’s hardware in depth.
Bonus Tip: View Real-Time Performance from Task Manager
If you want to do real-time monitoring of CPU, GPU, Memory and Disk usage, then Task Manager is also a helpful tool.
Steps:
1. Open Task Manager by pressing Ctrl + Shift + Esc.
2. Click on the Performance tab.
3. Here you can see the live usage details and specifications of each hardware unit.
Conclusion
Getting to know the full specifications of your PC in Windows 11 is very easy if you know the right methods. With the help of the 5 methods mentioned above, you can get not only basic information but also advanced hardware details. This will not only improve your troubleshooting skills, but you will also be able to assess the capabilities of your system accurately.
Want to grow your website organically? Contact us now
Frequently Asked Questions (FAQs) About checking the full specification of your PC in Windows 11
1. How can I see the RAM and processor of my Windows 11 computer?
You can see the information about the Installed RAM and Processor of your device by going to Settings > System > About.
2. Can I see all the specifications without any software?
Yes, you can see the details without any third-party tool using System Information (msinfo32) and Command Prompt (systeminfo).
3. What information is the DXDiag tool useful for?
The dxdiag tool is especially useful for Graphics Card, Sound Card, and Display driver information.
4. Is CPU-Z safe to use?
Yes, CPU-Z is a popular and trusted tool that gives in-depth information about your system, such as CPU architecture, cache levels, and motherboard details.
5. What if my PC is not showing any information?
If no information is showing, it could be that:
Your system drivers are not updated.
Information is blocked in the BIOS.
Using a third-party tool such as CPU-Z or Speccy.
6. Can I see my computer’s hardware usage from Task Manager?
Yes, in the Task Manager > Performance Tab, you can see live information for CPU, Memory, Disk, and GPU.
7. Which is the best way to know system specifications in Windows 11?
If you want basic information, then Settings > About is the easiest way. But for advanced and technical information, System Information or CPU-Z are more suitable.


