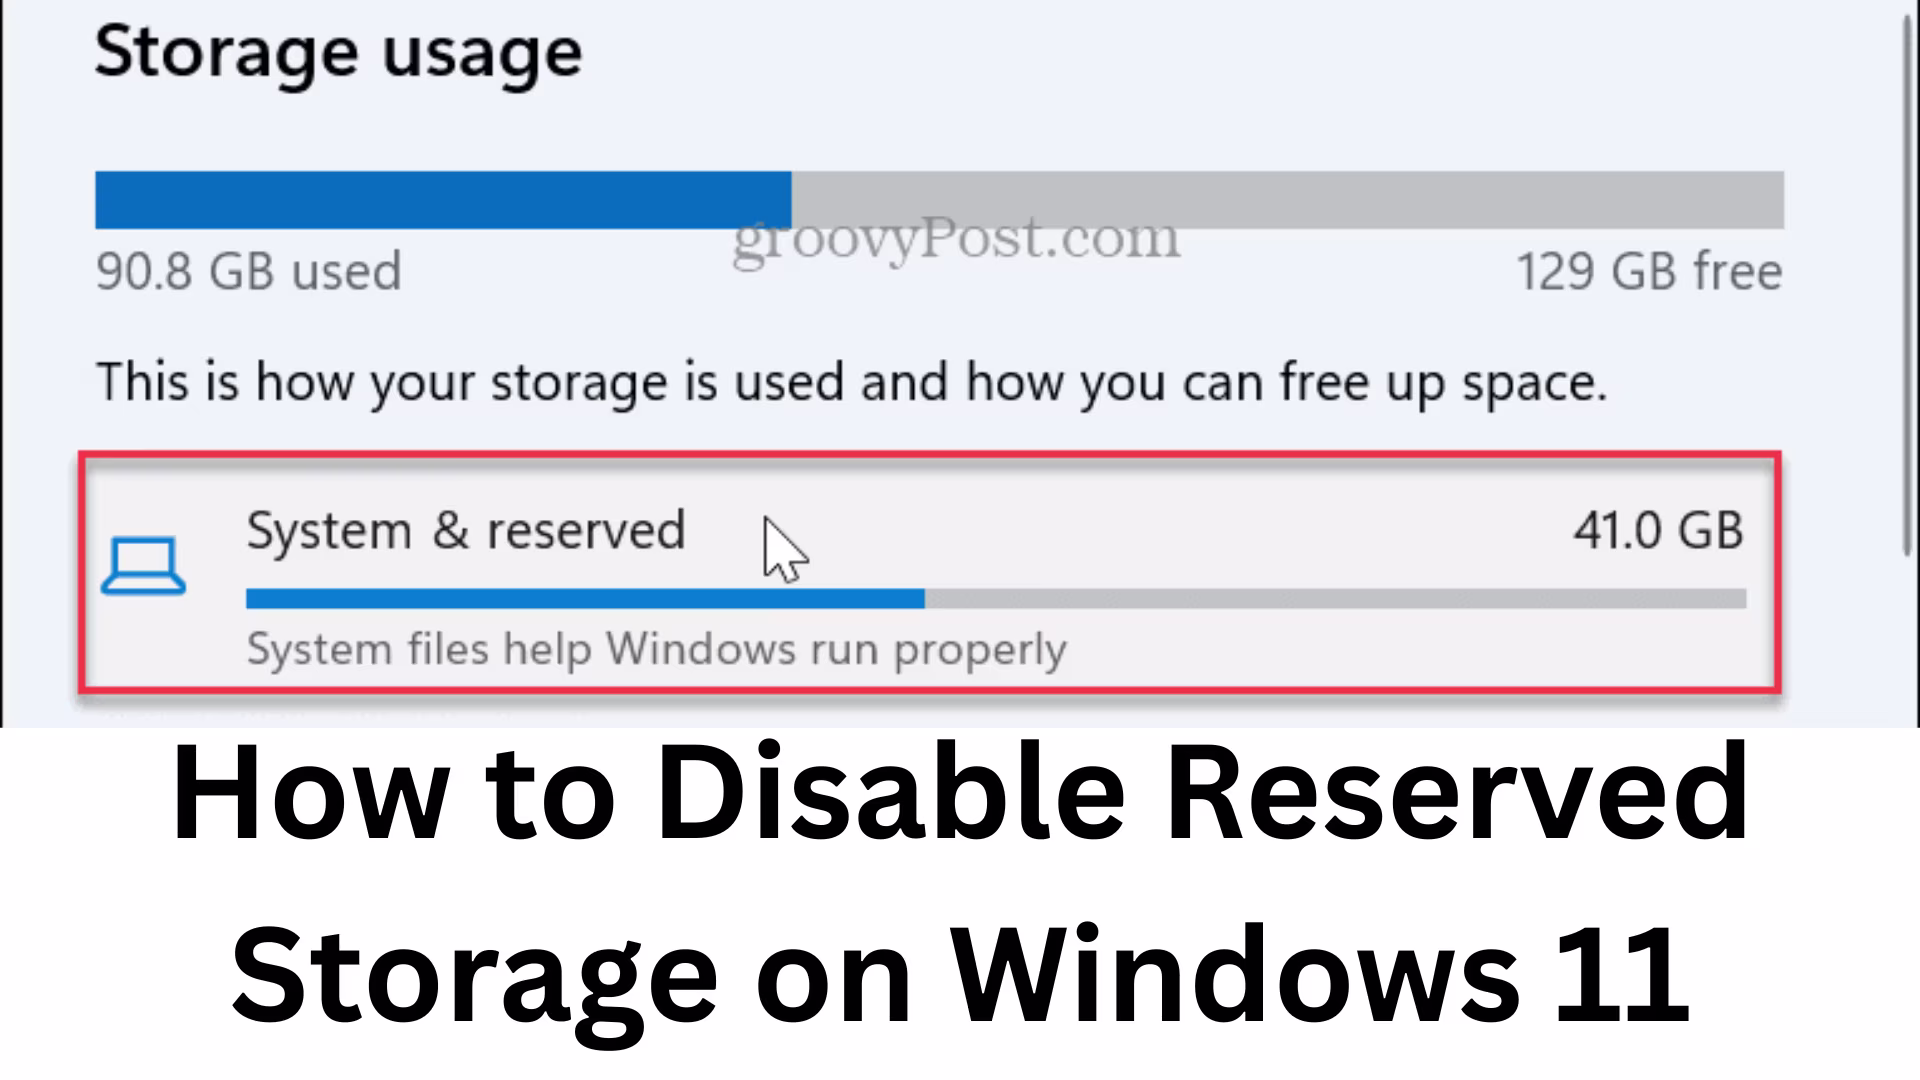
Windows 11 is a modern and advanced operating system that offers users better performance, faster updates, and a more secure environment. But it has a feature called Reserved Storage. This feature reserves some space (usually 7GB or more) from your PC’s disk so that system updates and temporary files can be installed easily.
However, this disk space consumption becomes a problem for many users, especially when there is limited storage available on the system’s SSD or HDD. If you want to free up this space, you can disable Reserved Storage. In this article, we will understand in detail how to disable Reserved Storage in Windows 11, what its benefits and risks are.
What is Reserved Storage, and why is it needed?
Reserved Storage is a storage management feature of Windows 11. Whenever Windows Update or new system files are installed, they require temporary space. Microsoft has added this feature so that:
System updates can be installed without any errors.
There is enough space for temporary files.
Windows Features and Security Updates work smoothly.
It usually reserves 7GB to 10GB of storage.
Why disable Reserved Storage in Windows 11?
Reserved Storage is not useful for everyone. Especially when you have a small SSD (128GB or 256GB) and want to save as much space as possible. By disabling Reserved Storage:
You can get additional storage space.
Free space management will become easier on laptops/PCs with small SSDs.
You can manage the system according to your needs by removing unwanted reserved storage.
But keep in mind that after disabling it, sometimes storage space problems may occur during updates.
Ways to Disable Reserved Storage in Windows 11
1. Disable Reserved Storage using Registry Editor
The Windows Registry Editor lets you make changes to the system configuration directly.
Steps:
1. Press Windows + R and open the Run dialog box.
2. Type in:
“`
regedit
“`
and press Enter.
3. Navigate to this path in the Registry Editor:
“`
HKEY_LOCAL_MACHINE\SOFTWARE\Microsoft\Windows\CurrentVersion\ReserveManager
“`
4. In the right panel, you will find a value: ShippedWithReserves
5. Double-click on it and change its Value data:
Reserved Storage ON = `1`
Reserved Storage OFF = `0`
6. Set the value to 0 and press OK.
7. Restart the system.
After a restart, Reserved Storage will be disabled, and additional space will be available on your disk.
2. Disable Reserved Storage using DISM Command
DISM (Deployment Image Servicing and Management) tool in Windows is used to manage system features.
Steps:
1. Open Start Menu and select Command Prompt (Admin) or Windows PowerShell (Admin).
2. Type this command in it:
“`
DISM /Online /Set-ReservedStorageState /State: Disabled
“`
3. Press Enter and let the process complete.
4. Restart the system.
After a restart, Reserved Storage will be disabled.
3. How to check the status of Reserved Storage?
If you want to know whether Reserved Storage is enabled or disabled now, then use the DISM command for this.
1. Open Command Prompt (Admin).
2. Type this command:
“`
DISM /Online /Get-ReservedStorageState
“`
3. Press Enter.
You will see `Enabled` or `Disabled` in the output.
Benefits of Disabling Reserved Storage
Save storage space: If you have a limited SSD or HDD, you can get more than 7GB of space back.
More flexibility: You can manage disk space according to your needs.
Fast performance: On devices with small SSDs, having more free space can affect performance.
Disadvantages of disabling Reserved Storage
Windows updates may fail if there is not enough space on the disk.
Security updates and driver installations may be problematic.
You must manually ensure that there is enough space on the disk at the time of the update.
Should you disable Reserved Storage?
If you have:
500GB or more storage → Leave Reserved Storage as it is.
Have 128GB/256GB SSD and have storage issues → Disabling Reserved Storage would be useful.
It totally depends on your needs.
Conclusion
Windows 11’s Reserved Storage feature makes system updates easy and secure, but it takes up your precious storage space. If you want more space available on your disk, you can easily disable it via Registry Editor or DISM Command.
Keep in mind, before disabling it, that enough space should be available in your system during Windows Updates. If managed properly, you can disable Reserved Storage without any problem and take advantage of the extra space in your disk.
Want to grow your website organically? Contact us now
Frequently asked questions about disabling Reserved Storage in Windows 11
Q1: What is Reserved Storage in Windows 11?
Answer: Reserved Storage is a feature in which Windows reserves about 7GB or more of space from your disk so that there is enough space available for system updates, temporary files, and apps.
Q2: Can I safely disable Reserved Storage?
Answer: Yes, you can disable it. But keep in mind that doing so may cause storage shortage problems during Windows Updates.
Q3: How much space will be free after disabling Reserved Storage?
Answer: Usually, 7GB to 10GB of space is available on your disk.
Q4: What is the easiest way to disable Reserved Storage?
Answer: The easiest way is to use the DISM command:
“`
DISM /Online /Set-ReservedStorageState /State:Disabled
“`
Q5: How to check the status of Reserved Storage (Enable/Disable)?
Answer: You can check by running this command:
“`
DISM /Online /Get-ReservedStorageState
“`
This will let you know whether this feature is enabled or disabled.
Q6: Should Reserved Storage be disabled in PCs/laptops with large storage?
Answer: If you have 500GB or more storage, it is better to leave the Reserved Storage as it is.
Q7: Is it right to disable Reserved Storage in systems with small SSDs (128GB/256GB)?
Answer: Yes, if you have limited storage and space is a problem, then disabling Reserved Storage is beneficial.