Reserved Storage is a feature Microsoft included in Windows 11 to reserve space for system updates and temporary files. However, for many users, this feature unnecessarily takes up 7GB or more of storage. If your SSD or laptop has limited storage, this space can be crucial.
In this detailed guide, we will explain how to disable Reserved Storage in Windows 11, how to do it, and what to keep in mind.
What is Reserved Storage in Windows 11?
Reserved Storage in Windows 11 reserves some storage space for system updates, cache files, temporary data, and optional features.
When this feature is enabled, Windows uses this reserved space to avoid a “Low Disk Space” error when installing future updates.
But if you have limited storage, this feature can sometimes cause unnecessary space to be lost.
How to Check Reserved Storage in Windows 11
Before disabling Reserved Storage, check whether it’s enabled on your system.
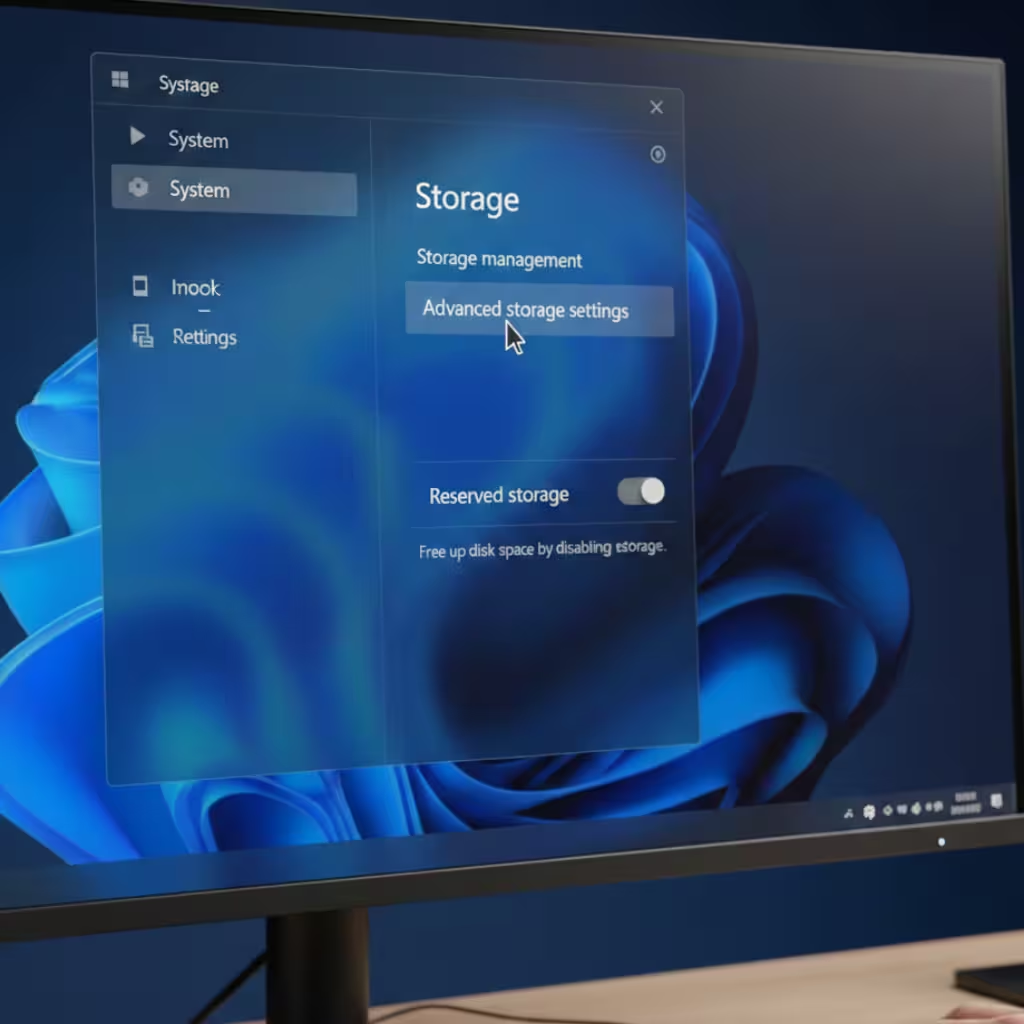
1. Open Settings
2. Click System
3. Select the Storage option
4. Then go to Advanced storage settings
5. Look for the Storage used on other drives or the System & Reserved section.
If Reserved Storage appears and takes up approximately 7GB or more of space, it’s enabled.
How to Disable Reserved Storage in Windows 11 (Registry Method)
Reserved Storage can’t be disabled directly from Settings. To do this, you need to use the Registry Editor.
Step 1: Open the Registry Editor
Press Windows + R on your keyboard
Type `regedit` and press Enter
Click Yes
Step 2: Go to the Registry Path
Go to the following path:
HKEY_LOCAL_MACHINE\SOFTWARE\Microsoft\Windows\CurrentVersion\ReserveManager
Step 3: Change the ShippedWithReserves value
Find the entry named ShippedWithReserves on the right side
Double-click it
Change the Value Data from 1 to 0
Click OK
Also read: 7 Best Ways to Clear Microsoft Store Cache in Windows 11 (Tested Fixes That Actually Work)
Step 4: Restart the system
Restart the system so that the change can take effect.
After the restart, Reserved Storage will gradually be removed and available storage will increase.
How to Disable Reserved Storage from PowerShell
If you prefer the command line, this method is fast and effective.
Step 1: Open PowerShell as Administrator
Search for PowerShell in the Start menu
Right-click and select Run as administrator
Step 2: Run the command below
Set-ItemProperty -Path “HKLM:\SOFTWARE\Microsoft\Windows\CurrentVersion\ReserveManager” -Name “ShippedWithReserves” -Value 0
Press Enter and restart the system.
Benefits of Disabling Reserved Storage
When we disable Reserved Storage in Windows 11, we:
About 7GB or more of storage is freed up
SSD usability increases
Space management becomes easier on laptops with low storage
Unnecessary system reserves are reduced
Is it safe to disable Reserved Storage?
Disabling Reserved Storage is generally safe, but keep a few things in mind:
There must be enough free space during Windows Update.
If your system has 128GB or more of storage, disabling it isn’t necessary.
Regularly use Disk Cleanup and Storage Sense.
How to Re-Enable Reserved Storage
If you want to enable it again in the future:
1. Open Registry Editor
2. Go to the same path
3. Change the ShippedWithReserves value to 1 again
4. Restart the system
Additional Ways to Increase Storage in Windows 11
In addition to disabling Reserved Storage, we can also free up storage by:
1. Turn on Storage Sense
Settings > System > Storage > Storage Sense
2. Delete Temporary Files
Settings > Storage > Temporary Files
3. Uninstall Unused Apps
Settings > Apps > Installed Apps
4. Use the Disk Cleanup Tool
Search for Disk Cleanup in Start
Also read: Pop-Up Alerts Won’t Stop on iPhone? Effective Ways to Fix Them Completely
What changes will you notice after disabling Reserved Storage?
You won’t see the full 7GB of free space immediately after restarting. Windows takes some time to clean up system files.
You’ll notice a noticeable difference in storage after a few hours or a day or two.
Permanent Solution to Low Storage in Windows 11
If your system is repeatedly displaying low storage alerts, disabling Reserved Storage is an effective solution.
This is especially useful on laptops with 64GB or 128GB SSDs.
Conclusion: Disable Reserved Storage in Windows 11 and Increase Storage
Reserved Storage in Windows 11 can be useful for system updates, but it takes up unnecessary space for users with limited storage.
We can easily gain additional storage by disabling it via the Registry or PowerShell.
If we regularly perform system cleanup and storage management, the need for Reserved Storage is reduced.
With this guide, you can easily complete the How to Disable Reserved Storage on Windows 11 process and increase your system’s storage capacity.
Frequently Asked Questions (FAQ) – How to Disable Reserved Storage in Windows 11
1. What is Reserved Storage in Windows 11?
Reserved Storage is a system feature that pre-emptively reserves approximately 7GB or more of space for Windows updates, temporary files, and caches, ensuring storage is not depleted during updates.
2. How much space does Reserved Storage take up?
It typically takes up between 7GB and 10GB of storage. In some systems, this may be even higher due to optional features.
3. Is it safe to disable Reserved Storage?
Yes, it is safe to disable it under normal circumstances. However, we should ensure that sufficient free space is available when installing Windows updates.
4. Does free space immediately become available after disabling Reserved Storage?
No, the full space does not appear immediately after restarting. Windows may take some time to clean up system files. A difference is usually visible within 24–48 hours.
5. Can Reserved Storage be disabled from Settings?
No, there’s no option to disable it directly in Windows 11’s Settings. This requires using Registry Editor or PowerShell.
6. How to re-enable Reserved Storage?
Go to the Registry and change the `ShippedWithReserves` value from 0 to 1 and restart the system. This will re-enable Reserved Storage.
7. Is it beneficial to disable Reserved Storage on a laptop with low storage?
Yes, if you have a 64GB or 128GB SSD, disabling Reserved Storage can provide additional usable space.
8. How will disabling Reserved Storage affect Windows Update?
If there’s enough free space on the system, Windows Update will function normally. However, if there’s too little storage, updates may experience problems.
9. Why is Reserved Storage automatically enabled?
Microsoft included it by default in Windows 11 to avoid storage errors during installation.
10. Is Reserved Storage available in all Windows 11 versions?
Yes, this feature is available in most Windows 11 Home and Pro versions, especially new installations.