If your computer ever encounters a system crash, boot error, or Windows malfunction, a Recovery Drive can be a crucial solution. Creating a Recovery Drive in Windows 11 is a safe way to easily repair, troubleshoot, and restore your system.
In this detailed guide, we’ll walk you through the process of creating a Recovery Drive in Windows 11, including the prerequisites, benefits, and uses. This process is crucial if you want to enhance your computer’s security.
What is a Windows 11 Recovery Drive?
A Recovery Drive is a bootable USB drive that contains the Windows Recovery Environment (WinRE) and some essential system tools. With its help, you can perform the following tasks:
- Windows Startup Repair
- System Restore
- Command Prompt Troubleshooting
- Reset This PC
- Advanced Boot Options Access
If your Windows 11 won’t boot or if system files are corrupted, you can easily repair the system using a Recovery Drive.
Required Things to Create a Recovery Drive
Before creating a Recovery Drive in Windows 11, you must have a few essential things.
1. USB Flash Drive
You must have at least 16GB or more of storage.
2. Administrator Access
You must have system administrator permissions.
3. Backup
All data on the USB drive will be deleted when creating a Recovery Drive, so make a backup first.
How to Create a Recovery Drive in Windows 11
Now we’ll walk you through the step-by-step process to easily create a Recovery Drive.
Step 1: Insert the USB Drive into your Computer
First, insert the USB Flash Drive into your computer. Be sure to back up all data on the drive, as it will be erased during the process.
Step 2: Open the Recovery Drive Tool
Now, follow the steps below to open the Recovery Drive Tool:
1. Click the Start Menu
2. Type Recovery Drive in the search box
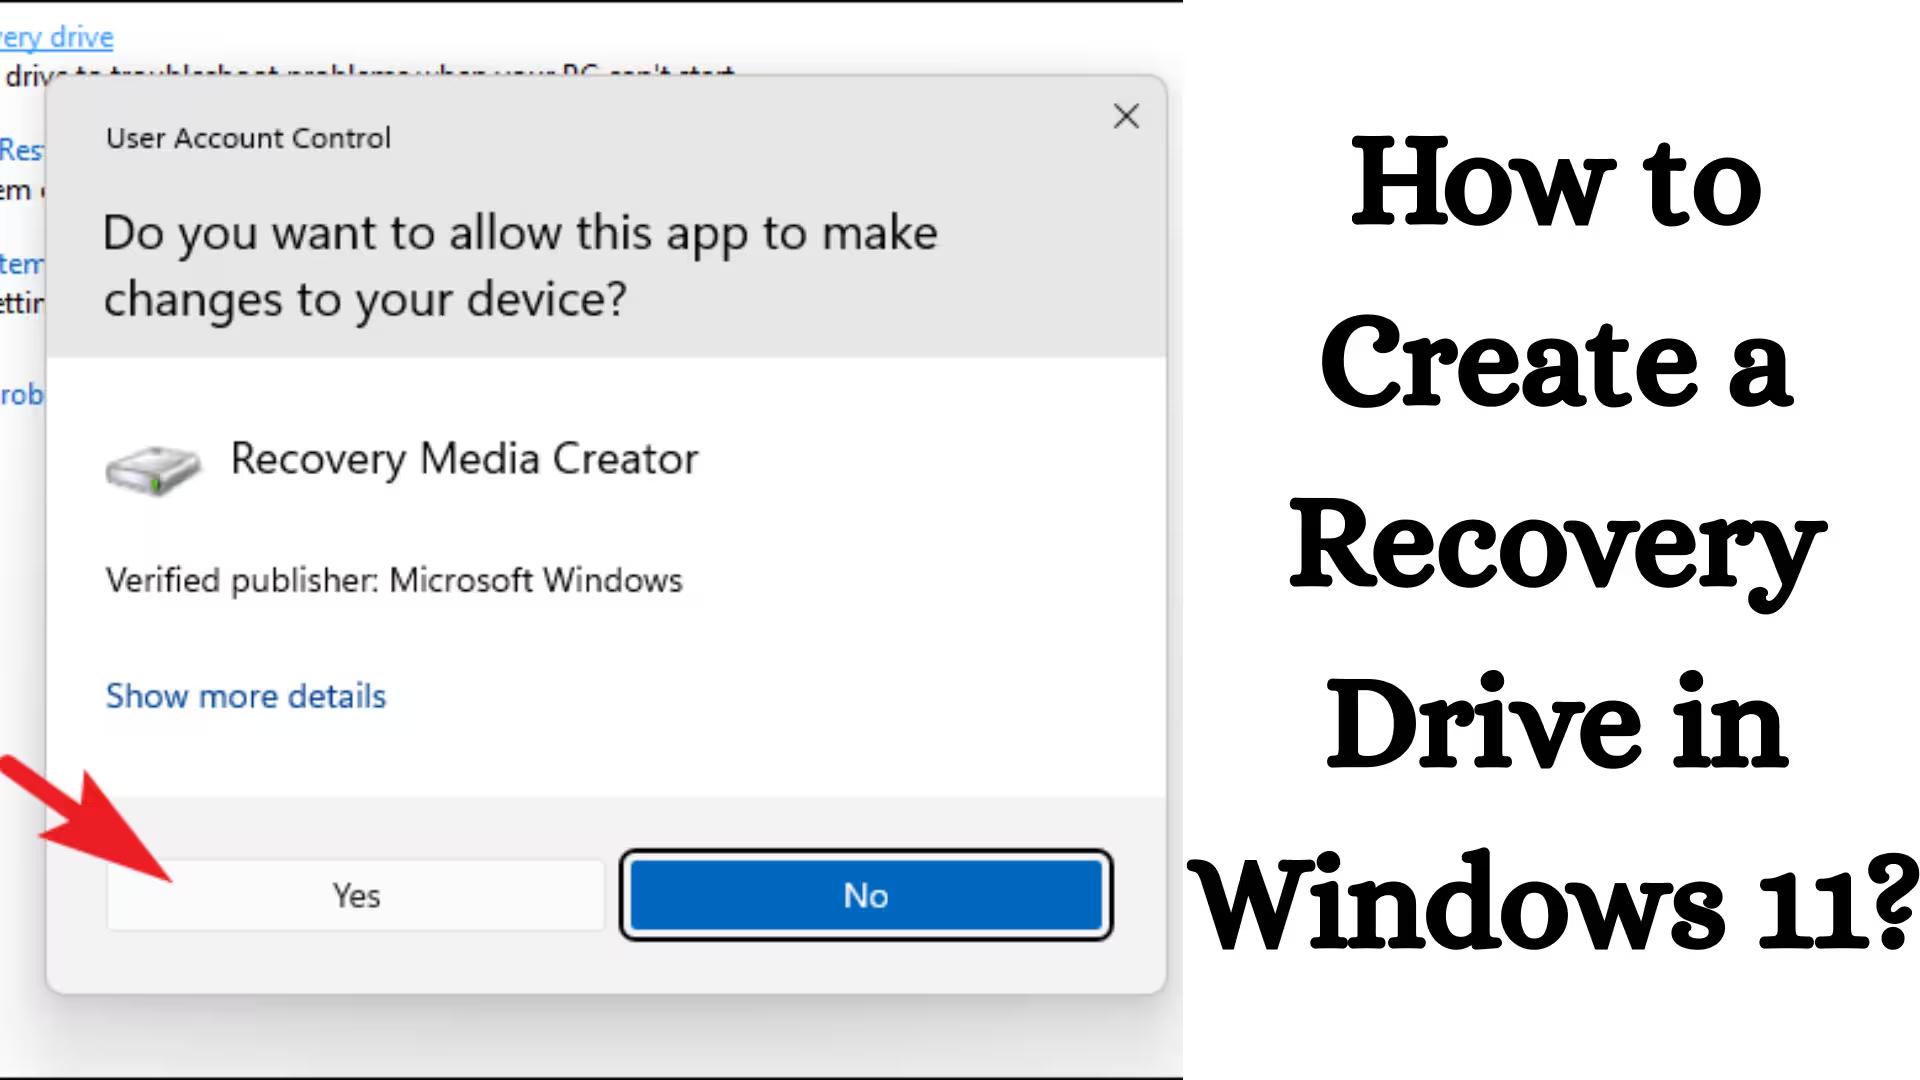
3. Click Create a Recovery Drive in the search results.
It will then ask for User Account Control (UAC) permission; click Yes.
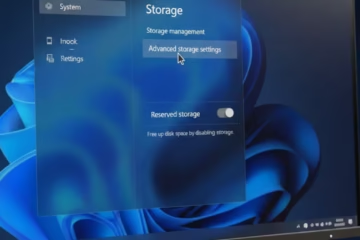
Step 3: Select the System Files Backup Option
A new window will open, showing you the following options:
Back up system files to the recovery drive
We recommend keeping this option checked so you can completely reinstall Windows if needed.
Click Next.
Step 4: Select a USB Drive
The system will now display a list of available USB drives.
1. Select your USB drive
2. Then click Next.
Windows will warn you that all data on the USB drive will be erased.
Click Create.
Step 5: Wait for the Recovery Drive to be created
Windows 11 will now begin creating the Recovery Drive. This process may take 5 to 30 minutes, depending on your system speed and USB capacity.
When the process is complete, you will see a message saying “Recovery Drive is ready.”
Also read: How to Hide Any Specific Drive in Windows?
Now click Finish.
How to Repair Windows 11 from a Recovery Drive
If your computer won’t boot, you can repair the system using a Recovery Drive.
Step 1: Insert the USB Recovery Drive
Insert the Recovery Drive into the computer.
Step 2: Open the BIOS or Boot Menu
Restart the computer and press the Boot Menu key.
Common Boot Keys:
- F12
- Esc
- F9
- Del
Step 3: Boot from the USB Drive
Select the USB drive from the Boot Menu.
Your system will now open in the Windows Recovery Environment.
Step 4: Select the Troubleshoot Option
You will now see a few options:
- Startup Repair
- System Restore
- Command Prompt
- Reset This PC
You can choose any of these options depending on your problem.
Key Benefits of a Recovery Drive
Creating a Recovery Drive is beneficial for your system in many ways.
1. Windows Boot Problem Fix
If Windows won’t boot, a recovery drive can fix it.
2. System Reset
You can reset Windows and restore it to its original state.
3. Malware Recovery
A recovery drive can help if your system is infected with a virus.
4. Emergency Troubleshooting
It becomes a life-saving tool in case of a system crash.
Also read: How to Reset Network Settings on iPhone?
Difference between a Recovery Drive and a System Image
Many people mistake a Recovery Drive and a System Image for the same thing, but they are different.
| Feature | Recovery Drive | System Image |
| —————– | ——————— | —————— |
| Storage | USB Drive | External HDD |
| Size | Small | Large |
| Purpose Repair & Troubleshoot | Full System Backup |
| Windows Reinstall | possible | possible |
Both are used in different situations.
Common Mistakes When Creating a Recovery Drive
There are some common mistakes you should avoid when creating a Recovery Drive.
1. Using a Small USB Drive
Using a USB drive smaller than 16GB may cause the process to fail.
2. Skipping the System Files Backup Option
This option is necessary for future Windows reinstallations.
3. Disconnecting the USB
Removing the USB during the process may corrupt the Recovery Drive.
When to Create a Windows 11 Recovery Drive
A recovery drive should always be created before a problem occurs.
Best time:
- After installing Windows
- After purchasing a new laptop
- After a system update
This protects you from future problems.
Conclusion
Creating a recovery drive in Windows 11 is a vital security measure that can protect your system from serious problems. If your computer won’t boot, Windows crashes, or system files are corrupted, a recovery drive is the fastest and most effective solution.
It’s always recommended to create a recovery drive immediately after installing Windows and keep it in a safe place. This will allow you to easily repair or restore your system at any time.
Frequently Asked Questions (FAQs)
1. How to create a Recovery Drive in Windows 11?
To create a Recovery Drive in Windows 11, go to the Start Menu, search for Recovery Drive, and click Create. Then, insert a USB flash drive (at least 16GB), select the Back up system files to the recovery drive option, and click Create. Your Recovery Drive will be ready in a few minutes.
2. Can we create a Windows Recovery Partition?
Yes, a Recovery Partition can be created in Windows. This partition is usually created automatically when you install Windows. If it’s not available, you can create a Recovery Partition using the Disk Management Tool or third-party software.
3. How to create a Recovery Point in Windows 11?
To create a Recovery Point, follow the steps below:
1. Search for “Create a restore point” in the Start Menu.
2. Open the System Protection tab.
3. Select the drive where Windows is installed.
4. Click Create.
5. Type a name for the Restore Point and press Create.
This will create a secure Restore Point for your system.
4. How to create a C and D drive in Windows 11?
Disk Management is used to create the C and D drives.
Steps:
1. Right-click on the Start Menu.
2. Open Disk Management.
3. Right-click on the C drive.
4. Select “Shrink Volume.”
5. Create a New Simple Volume from Free Space.
This way, you can easily create a new D drive.
5. How to enable the Recovery Drive in Windows 11?
To enable the Recovery Drive, go to Control Panel → Recovery → Create a Recovery Drive. You can create a recovery drive from a USB drive by enabling the System Files Backup option there.
6. Can a bootable USB drive be created?
Yes, you can easily create a bootable USB drive. You need a Windows ISO file and a USB flash drive (at least 8GB). After that, you can create a bootable USB drive using the Windows Media Creation Tool or Rufus.
7. How to create a bootable USB drive for Windows 11?
To create a Windows 11 bootable USB:
1. Download the Windows Media Creation Tool
2. Insert the USB drive into your computer
3. Run the tool
4. Select the Create Installation Media option
5. Select the USB drive
Your Windows 11 bootable USB drive will be ready in some time.
8. Is a bootable USB drive the same as a recovery drive?
No, they are different.
A bootable USB drive is used to install or reinstall Windows.
A recovery drive is used to repair and troubleshoot the system.
Both are used for different purposes.
9. Can Rufus create a bootable USB drive?
Yes, Rufus is a very popular tool that can easily create a bootable USB drive. All you need to do is select the Windows ISO file, choose the USB drive, and click Start. A bootable USB drive will be ready in a few minutes.
Are you searching for the best hosting plan? Click now and get 20% off