In today’s digital age, data privacy and network security are one of the biggest priorities. If you’re looking for a solution that can instantly shut down your internet connection when needed — such as when the VPN disconnects — then an internet kill switch is the perfect choice. Creating an internet kill switch in Windows is technically possible and effective.
In this article, we will learn in detail how to create an internet kill switch in Windows systems so that you can fully control your network traffic.
What is an Internet Kill Switch?
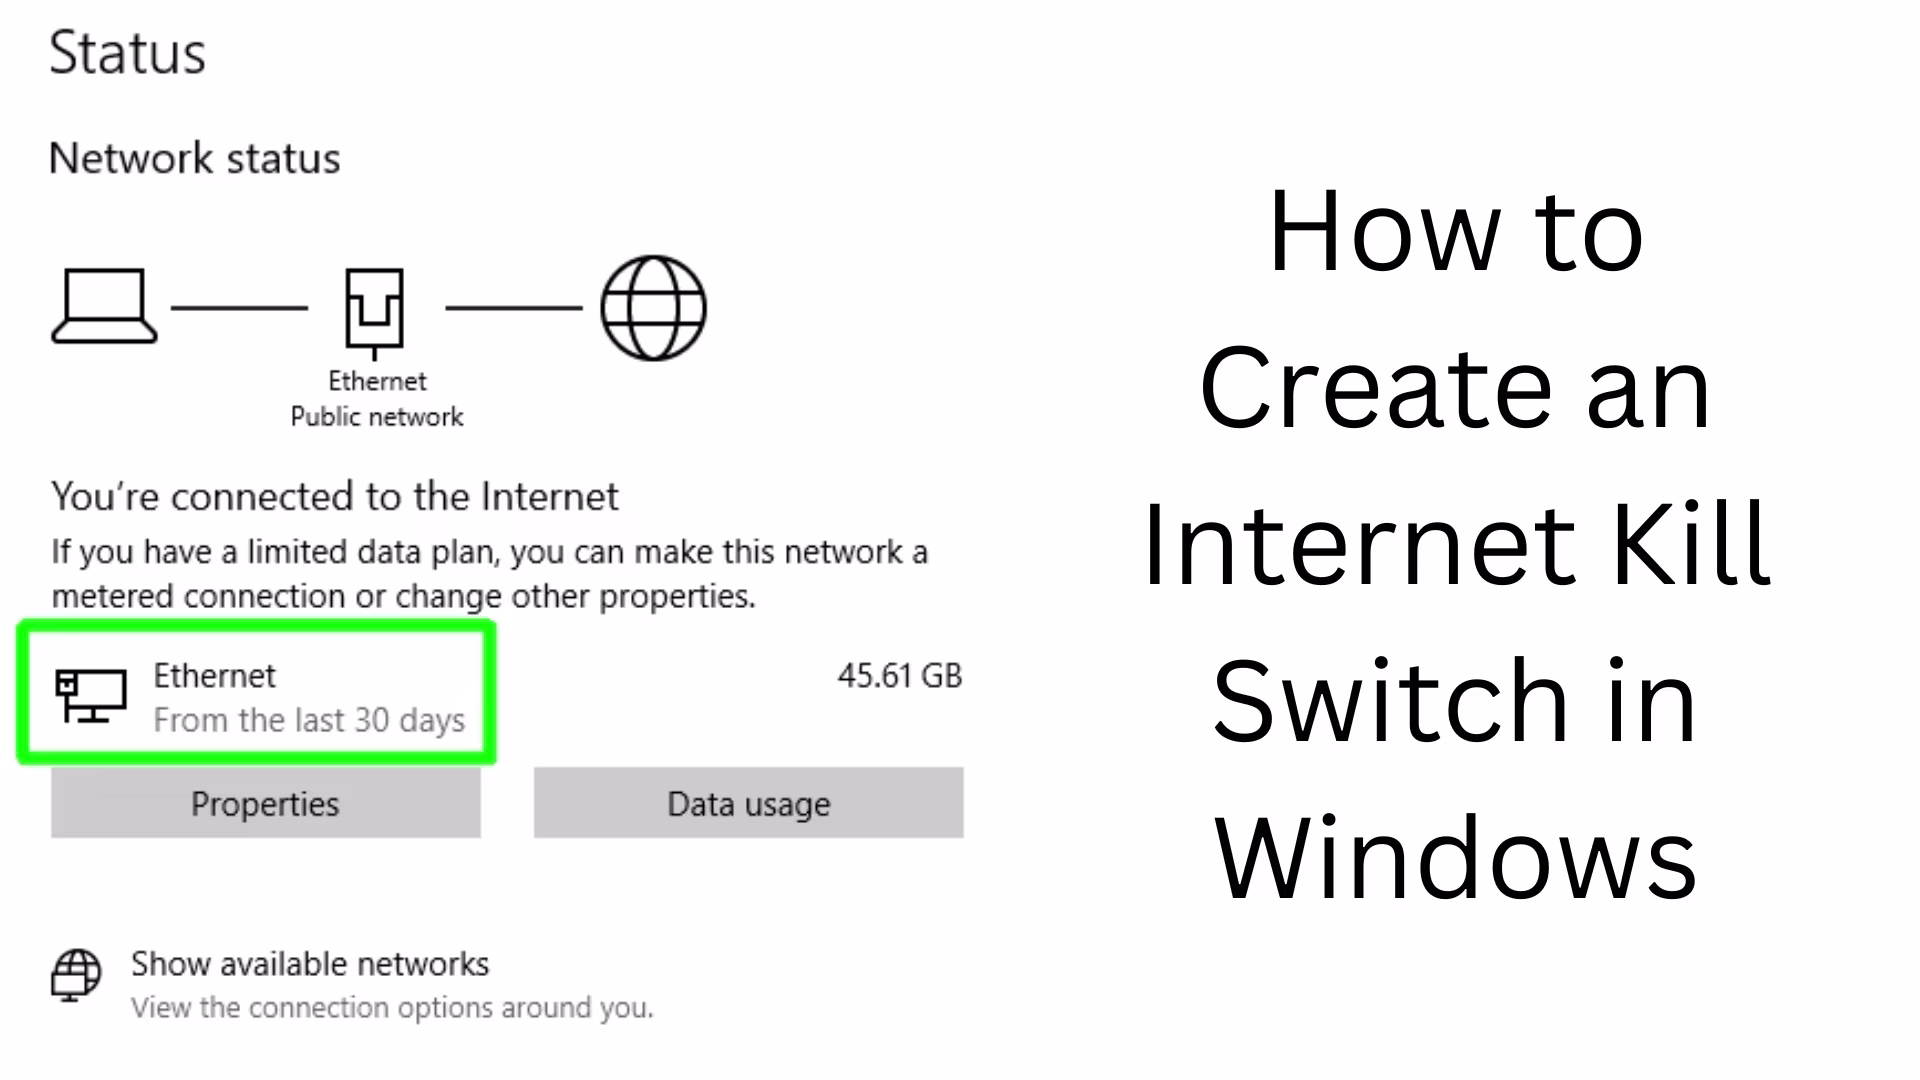
An internet kill switch is a technology that automatically shuts down your internet connection when a specific network or security condition is not met, such as a VPN connection being lost. It is especially useful for users who consider their privacy paramount.
How to Create an Internet Kill Switch in Windows
Below, we are sharing detailed methods to set up an internet kill switch for both Windows 10 and Windows 11. For this, you can use Windows Firewall, PowerShell, and Task Scheduler.
1. Create a Kill Switch from Windows Firewall
Step 1: Open Windows Defender Firewall
Go to the Start Menu and type “Windows Defender Firewall with Advanced Security” to open it.
Step 2: Create Outbound Rules
1. Click on Outbound Rules from the Left Sidebar.
2. Click on “New Rule…” in the Right Panel.
3. Select “Program” and click on Next.
4. Give the path of the specific program that you want to block from internet access (eg, Google Chrome, uTorrent, etc.).
5. Select Block the connection and click on Next.
6. Tick all three Domains, Private and Public.
7. Give a name to this rule like “Kill Switch – Chrome”.
Step 3: Activate the Rule
Once the rule is created, it will be activated automatically. You can enable/disable it whenever you want.
2. Create Internet Kill Switch with PowerShell Script
If you are a technical user, you can use a PowerShell Script to quickly turn off the internet when needed.
PowerShell Script Code:
“`powershell
Disable-NetAdapter -Name “Wi-Fi” -Confirm:$false
“`
> Here, replace “Wi-Fi” with the name of your network adapter.
To turn the internet back on:
“`powershell
Enable-NetAdapter -Name “Wi-Fi” -Confirm:$false
“`
Save the script as a shortcut:
1. Paste the above code in Notepad.
2. Save it with `.ps1 extension, such as `killswitch.ps1`.
3. To run this file, open PowerShell and run it as Administrator.
3. Set the automatic kill switch with Task Scheduler
If you want the internet to be turned off automatically as soon as the VPN disconnects, Task Scheduler is the best tool.
Step 1: Open Task Scheduler
Search for “Task Scheduler” in the Start Menu and open it.
Step 2: Create a new task
1. Click “Create Task”.
2. In the General tab, give the task a name, such as “VPN Kill Switch”.
3. Tick “Run with highest privileges”.
Step 3: Set the trigger
In the Trigger tab, click “New”.
Begin the task: Select “On an Event”.
Log: “Application”
Source: Name of the VPN program (example: OpenVPN, NordVPN)
Event ID: ID of the VPN disconnect (get it from the VPN provider’s docs)
Step 4: Set the Action
Select “Start a program” in the “Action” tab.
Enter `powershell.exe` in Program/Script.
In Add arguments, type the following:
“`powershell
-NoProfile -ExecutionPolicy Bypass -File “C:\Path\To\killswitch.ps1”
“`
> Replace “C:\Path\To\killswitch.ps1” with the correct path to your script.
4. Enable Kill Switch in Third-Party VPN Apps
If you use popular VPN clients like NordVPN, ExpressVPN, and ProtonVPN, you don’t need to manually create a kill switch in Windows.
Kill Switch in NordVPN:
1. Open NordVPN.
2. Go to Settings > Kill Switch.
3. Enable “Internet Kill Switch”.
Precautions in usage
If you disable the wrong network adapter, your system may be completely disconnected from the internet.
Run PowerShell scripts only from trusted sources.
If the Event ID of VPN Disconnect is wrong, the Task Trigger will not work properly.
Final Tips
Internet kill switch is an essential security measure, especially for users who use VPN, Torrent, or visit sensitive websites. Creating a kill switch in Windows is a one-time task, but it increases your online privacy and data security manifold.
Want to grow your website organically? Contact us now
FAQs – Frequently Asked Questions about Internet Kill Switch in Windows
1. What is an Internet Kill Switch?
An Internet Kill Switch is a security feature that automatically shuts down your Internet connection when a specific network condition is not met, such as a VPN disconnect. This prevents your data from being leaked.
2. Can I manually create an Internet Kill Switch in Windows?
Yes, you can manually create an effective Internet Kill Switch in Windows using Firewall rules, PowerShell scripts, or Task Scheduler.
3. How to create an Internet Kill Switch using PowerShell?
You can run this command in PowerShell:
“`powershell
Disable-NetAdapter -Name “Wi-Fi” -Confirm:$false
“`
> Note: Replace “Wi-Fi” with the name of your system’s network adapter.
4. Does VPN software have a built-in kill switch?
Yes, many premium VPNs like NordVPN, ExpressVPN, and ProtonVPN have a built-in internet kill switch feature, which you can enable by going to their settings.
5. What happens if the wrong rule is created?
If you accidentally block the wrong program or network, the internet or any essential application may stop working. To avoid this, always create a firewall rule carefully or enter the correct name in the script.
6. How to automate a kill switch using Task Scheduler?
You can use Task Scheduler to create a task that executes a PowerShell script and turns off the internet when the VPN disconnects.
7. Does the kill switch work on mobile data, too?
No, this method only works on Windows computers and their network adapters. For mobile devices, you will have to find a solution according to their OS.
8. Does this method work on Windows 11, too?
Yes, all the methods mentioned above work equally on both Windows 10 and Windows 11, provided you have administrative privileges.
9. Where to find the VPN Disconnect Event ID?
It is available in the logs of your VPN provider or on the documentation/support page of their website.
10. Why is an Internet Kill Switch important?
Because it ensures that if your VPN or network security protocol fails, your real IP and data are not leaked. This is extremely important for your privacy and online security.