In today’s world, spam messages have become a major problem for iPhone users. Bank offers, fake lotteries, investment scams, OTP fraud, and unsolicited promotional messages are not only annoying but can also pose a threat to privacy and security. However, by utilizing the right settings and security measures, the spam messages received on an iPhone can be significantly reduced.
In this comprehensive guide, we will explore all the effective methods for stopping spam messages on an iPhone in detail.
What Are Spam Messages on iPhone?
Spam messages are messages sent without permission. Their primary objectives are often to:
Display advertisements
Offer fake deals or promotions
Commit fraud under the guise of bank or KYC updates
Trick users into clicking links
Steal personal information
Such messages may arrive in the form of SMS, iMessages, or promotional text messages.
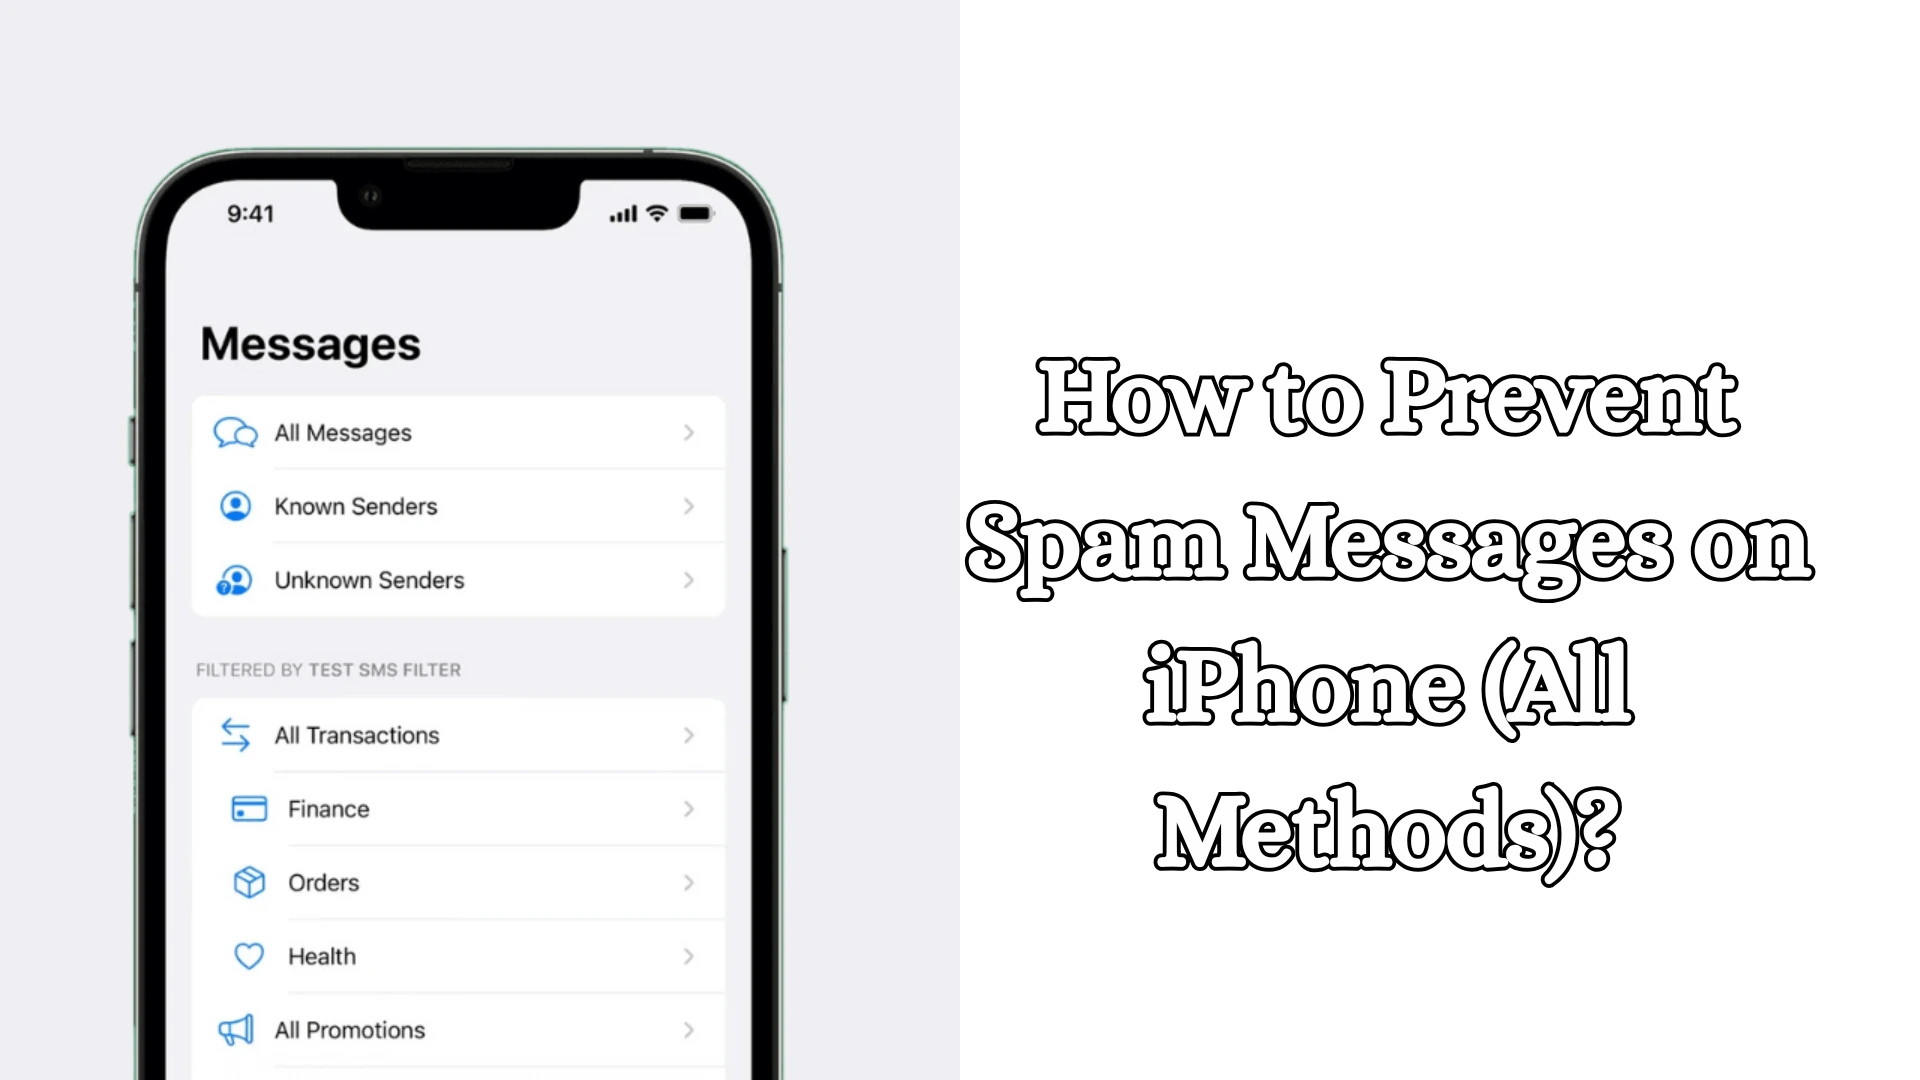
1. Turn On the “Filter Unknown Senders” Feature
The Filter Unknown Senders feature built into the iPhone is the easiest way to control spam.
When this feature is enabled, messages from numbers that you have not saved in your contacts are automatically moved to a separate section.
How to Enable “Filter Unknown Senders”
1. Open Settings
2. Go to Apps > Messages
3. Scroll down
4. Toggle on Filter Unknown Senders
Once enabled, two distinct sections will appear within the Messages app:
Known Senders
Unknown Senders
This ensures that spam messages do not clutter your main chat list.
2. Block Spam Numbers
If a specific number is repeatedly bothering you, the best course of action is to block it immediately. How to Block a Number on iPhone
1. Open the Messages App
2. Open the spam message
3. Tap on the number or name at the top
4. Select Info
5. Tap on Block this Caller
Once blocked:
You will not receive calls
You will not receive messages
FaceTime will also be disabled
This method is highly effective against persistent spam numbers.
Also read: How to Fix Windows 11 Problems with the New Recovery Tool?
3. Report Junk Messages
Apple provides users with the option to report iMessage Spam.
If you receive an iMessage from an unknown sender, a Report Junk option may appear beneath it.
How to Report Spam
1. Open the spam iMessage
2. Tap on Report Junk
3. Select Delete and Report Junk
This action:
Deletes the message
Sends a report to Apple
May help reduce such spam in the future
4. Do Not Click on Suspicious Links
Most spam messages contain links. These links:
Fake banking websites
Fraudulent KYC updates
Prize-winning scams
Malware installation
May be associated with activities such as these.
If a message contains phrases like:
Account suspended
Click now
Urgent action required
Prize won
Exercise extra caution.
Never click on links from unknown sources.
5. Do Not Share OTPs or Personal Information
Many spam messages request OTPs or banking details.
Remember:
Banks do not ask for passwords via SMS
No legitimate company asks for an OTP
Do not share Aadhaar, PAN, or card details via text message
Fraudulent messages often attempt to deceive you by impersonating trusted organizations.
6. Use SMS Filtering Apps
The iPhone supports third-party SMS Filtering Apps that help identify and filter out spam. Such apps:
Identify spam numbers
Filter promotional SMS
Block fraudulent messages
How to Enable SMS Filtering
1. Open Settings
2. Go to Apps > Messages
3. Select Unknown & Spam
4. Activate the SMS Filtering app
This feature provides an additional layer of security.
7. Cancel Promotional SMS Subscriptions
Often, we voluntarily enter our phone numbers on websites, apps, or shopping platforms, which leads to promotional messages arriving.
To avoid these:
Look for an “Unsubscribe” link
Send “STOP” or “UNSUBSCRIBE”
Opt out of marketing SMS
This helps reduce the volume of unnecessary messages.
8. Use Carrier Spam Protection
Mobile network providers also offer spam protection services.
In India, many telecom companies provide services such as:
Fraud Detection
Spam Blocking
Promotional Filtering
Using these services can help reduce network-level spam.
9. Activate DND (Do Not Disturb)
The DND service helps block promotional and telemarketing messages.
Benefits of DND
Fewer promotional SMS
Reduction in advertising messages
Control over unwanted marketing calls and texts
If you are constantly receiving advertising messages, DND can be a useful option.
Also read: How to Turn Off Location Services on iPhone?
10. Limit Contact Sharing
A major cause of spam is the excessive sharing of mobile numbers across various platforms.
Share your number only on trusted platforms.
Be cautious in these places:
Unknown websites
Lucky Draw forms
Free offer sites
Public social media posts
Less sharing means less spam.
11. Keep your iPhone and iOS Updated
Apple continuously releases security updates.
Using an outdated version of iOS can lead to:
Compromised security
Less effective spam filtering
Missing out on new security features
How to Update your iPhone
1. Settings
2. General
3. Software Update
4. Install any available updates
An updated device remains more secure.
12. Protect Against Email-to-Text Spam
Some spam messages arrive as SMS texts sent from an email address.
If a message comes from:
A random email address
Strange text content
A suspicious link
then:
Do not reply
Delete it
Block it
Replying lets the spammer know that the number is active.
13. Avoid Auto-Replies or Responses
Many people send angry replies to spam messages.
This can be a mistake.
Responding:
Informs the spammer that the number is active
May lead to receiving even more spam
Therefore:
Ignore + Block is the safest approach.
14. Verify Business Messages
Many companies send official business messages, but scammers often mimic them.
Verify the message details:
Official Company Name
Verified Details
Correct Website URL
Genuine Contact Information
If you are in doubt, verify the information directly through the company’s official app or website.
15. Control Message Notifications
If spam messages cannot be stopped completely, managing your notifications can also be a useful strategy. How to Change Notification Settings
1. Settings
2. Notifications
3. Messages
4. Adjust Preview and Alert settings
This will help reduce frequent, intrusive alerts.
Best Practices for Stopping iPhone Spam Messages
For enhanced security, we should adopt the following habits:
Keep “Filter Unknown Senders” enabled
Block spam numbers
Use the “Report Junk” feature
Avoid suspicious links
Do not share OTPs
Keep iOS updated
Utilize DND and Carrier Filters
Do not reply to unknown messages
Adopting these measures can significantly reduce the volume of spam messages on your iPhone.
Conclusion
While it is not always possible to eliminate spam messages on an iPhone, they can be significantly controlled through the right settings and precautions. Unknown Sender Filtering, Number Blocking, Junk Reporting, DND (Do Not Disturb), and Security Awareness collectively provide robust protection. If we remain vigilant and refrain from trusting unknown messages, the iPhone experience remains secure and organized.
FAQ – Frequently Asked Questions About Stopping Spam Messages on iPhone
1. Why do I receive spam messages on my iPhone?
Spam messages on an iPhone are typically sent by marketing companies, telemarketing services, scammers, or result from data leaks. Often, the volume of spam messages increases because our mobile numbers have been registered on various websites or apps.
2. Can spam messages be completely stopped on an iPhone?
It is not always possible to stop spam messages 100%, but features such as Filter Unknown Senders, the Block Feature, DND, and Spam Reporting can help reduce them to a significant extent.
3. What does the “Filter Unknown Senders” feature do on an iPhone?
This feature moves messages received from unknown numbers into a separate section, keeping your main message inbox clutter-free and minimizing the nuisance caused by spam messages.
4. How do I block a spam number on an iPhone?
Open the spam message → Tap on the number → Select Info → Click on Block this Caller. Once blocked, you will no longer receive calls or messages from that number.
5. Does the blocked number know that it has been blocked?
No, the iPhone does not send any notifications or information to the blocked number.
6. What is the “Report Junk” feature?
This is a security feature on the iPhone that allows you to report suspicious iMessages to Apple, helping them better identify such spam in the future.
7. Can opening a spam message hack an iPhone?
Simply reading a message generally poses no threat; however, clicking on suspicious links contained within it or entering personal information can create a security risk.
8. Is it safe to click on spam links?
No. Spam links can lead to fake websites, malware, or banking fraud schemes. You should avoid clicking on links from unknown sources.
9. Does Apple itself filter spam messages?
Yes, Apple offers options to filter spam and messages from unknown senders to a certain extent; however, enabling additional security settings is essential for enhanced protection.
10. Can DND (Do Not Disturb) block spam SMS?
DND helps reduce the volume of many promotional and telemarketing messages, although it does not completely block every single spam message.
11. Are third-party SMS filtering apps safe?
Reputable and highly-rated apps can be useful; however, you must carefully review their Privacy Policy and requested permissions before installing them.
12. How do I stop receiving recurring promotional SMS?
Use the STOP or UNSUBSCRIBE option provided within the message to opt out of unwanted marketing services.
13. Should I reply to spam messages?
No. Replying alerts the spammer that your number is active, which can lead to an increase in the volume of spam you receive.
14. Is carrier-provided spam protection useful?
Yes, many mobile network providers offer features to filter spam and fraudulent messages, thereby providing an additional layer of security.
15. How does keeping my iPhone updated help with spam protection?
New iOS updates frequently include security improvements and spam detection features; therefore, keeping your device updated is crucial for maintaining optimal security.


Spam messages can be more than just annoying—they really do threaten privacy if ignored. I found it helpful how the post breaks down different types of spam and the iPhone settings that can help filter them. It makes managing these messages feel much more manageable rather than overwhelming.