For Windows 11 users, data security is one of the most critical topics. Documents, photos, videos, Office files, project data, and personal information stored on a computer can be lost at any time due to system crashes, virus attacks, hard drive failures, or accidental deletion. To prevent such situations, Microsoft has introduced an excellent feature in Windows 11 called File History.
In this article, we will explore in detail: what Windows File History is, how to enable it, how to create backups on an external drive, how to recover older versions of files, and the best practices for keeping your Windows 11 data secure.
What is Windows File History?
File History is a built-in backup tool in Windows 11 that regularly saves copies of your important files. It primarily backs up the following folders:
- Documents
- Pictures
- Videos
- Music
- Desktop
- Downloads (in some configurations)
- OneDrive Offline Files
- Custom Libraries
Whenever you make changes to a file, File History saves a new version of it. This allows you to retrieve older versions of your files as well.
Benefits of Using File History in Windows 11
1. Automatic Backups
Once set up, your files are backed up automatically on an ongoing basis.
2. Recover Older Files
If you accidentally make unwanted changes to a file, you can easily restore a previous version.
3. Easy Setup
There is no need to install any additional software.
4. External Drive Support
Backups can be created on a USB drive, external HDD, SSD, or a network location.
5. Fast Restore Process
Lost files can be recovered with just a few clicks.
What You Need Before Starting File History in Windows 11
To use File History, you will need the following items:
USB External Hard Drive
Pen Drive (for small amounts of data)
SSD Storage Device
Network Drive / NAS
Tip: If you have a large amount of data, use an external drive of at least 500GB or 1TB.
How to Enable File History in Windows 11
Step 1: Connect an External Drive
First, connect a USB external hard drive or a pen drive to your computer.
Also read: 5 Best Ways to Scan for Hardware Changes in Windows
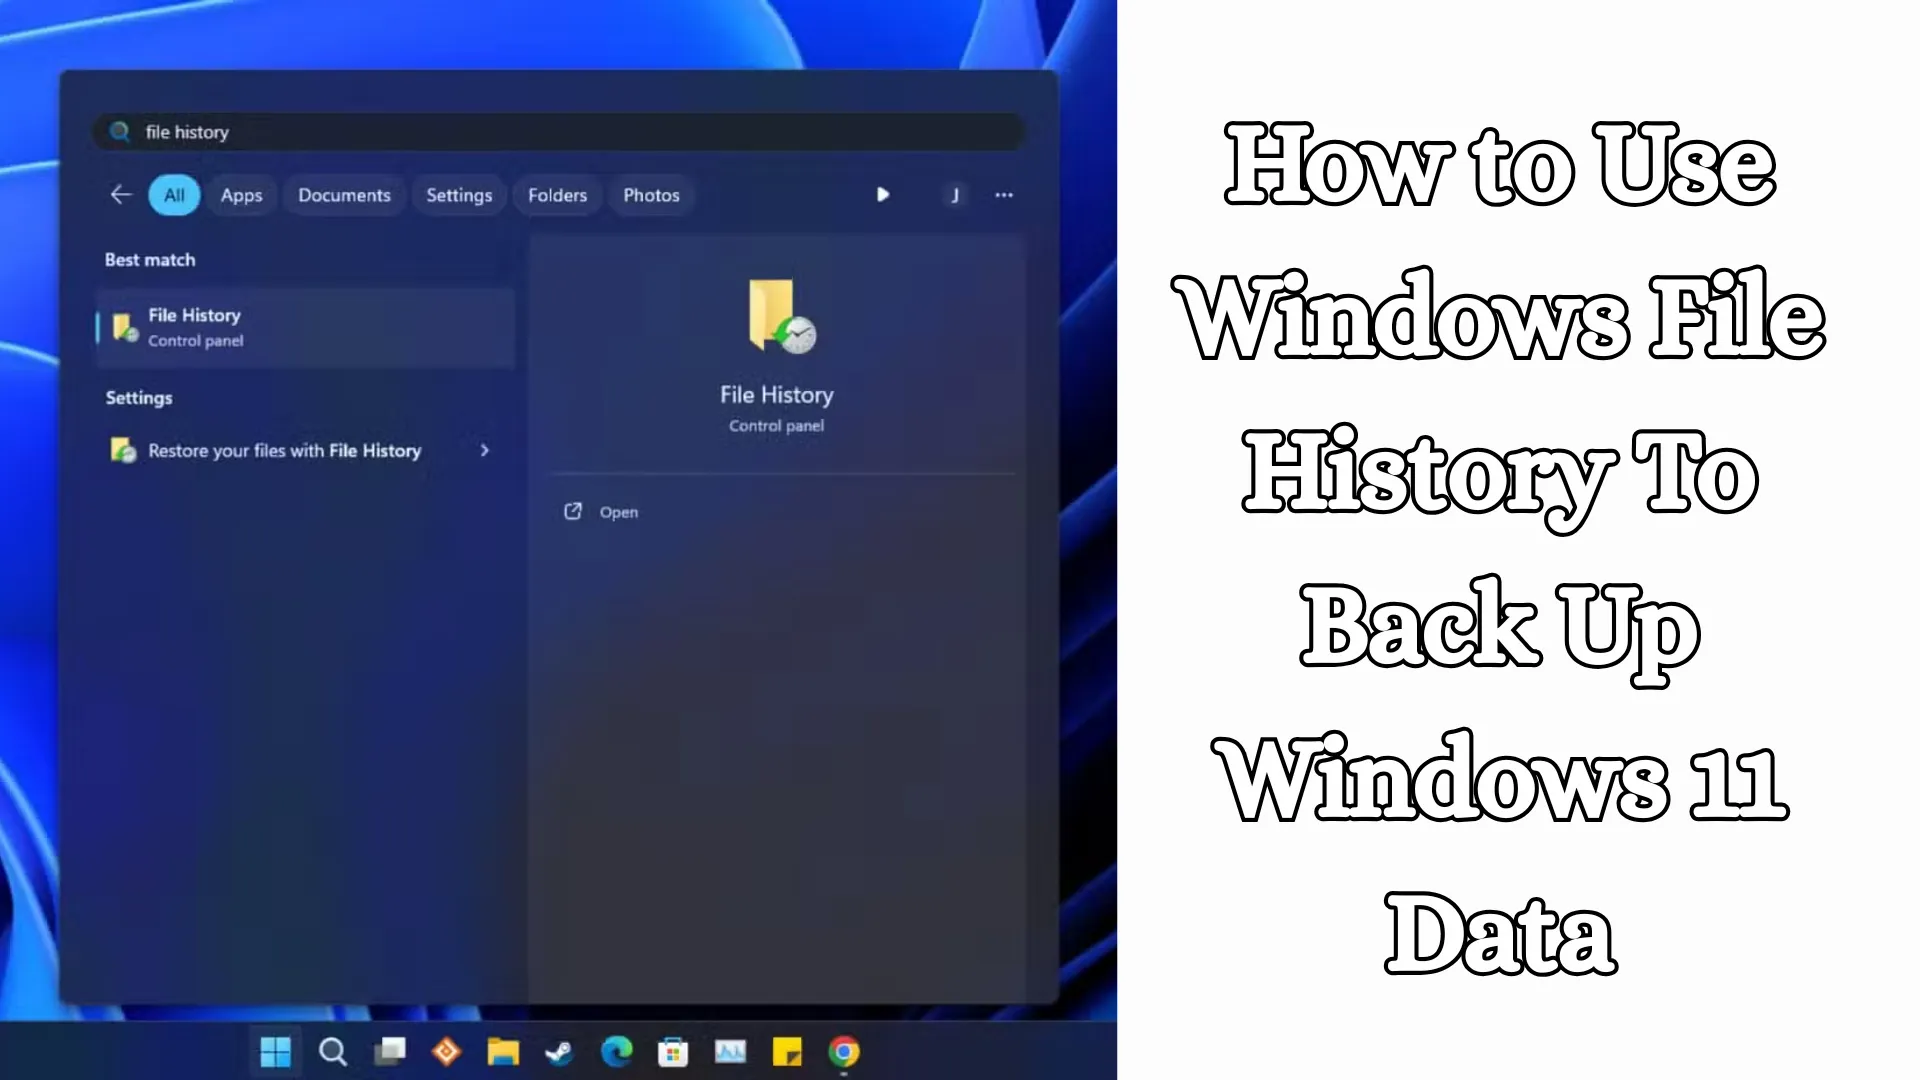
Step 2: Open Control Panel
Click on the Start Menu.
Search for: Control Panel
Open it.
Step 3: Select File History
Go to Control Panel.
Click on System and Security.
Now, open File History.
Step 4: Turn On
If the system has successfully detected your drive, the Turn On button will appear.
Click on it.
Windows 11 will now begin backing up your data.
How to Change File History Backup Settings in Windows 11
Open Advanced Settings
In the File History window, click on Advanced Settings located on the left side.
From here, you can modify various settings.
How Often to Back Up
Options:
Every 10 minutes
Every 15 minutes
Every 30 minutes
Every Hour
Daily
Tip: For the average user, Every Hour is the best option.
How Long to Keep Backups
Options:
Until space is needed
1 Month
3 Months
6 Months
1 Year
Forever
If you have sufficient storage space, it is best to select Forever.
How to Back Up a Custom Folder
If you wish to back up a specific folder:
Step 1: Add the Folder to a Library
Select the folder you want to back up.
Right-click on it.
Select Show More Options.
Select Include in Library.
File History will now begin backing up that folder as well.
How to Restore Files Using File History
If a file has been deleted, or if you need to retrieve an older version of a file:
Step 1: Open File History
Go to Control Panel.
Select File History.
Step 2: Click on “Restore Personal Files”
All your backed-up files will appear here.
Step 3: Select the File
Select the specific file you wish to restore.
Step 4: Press the Green “Restore” Button
The file will be restored to its original location.
How to Restore a Previous Version
If you have accidentally made incorrect changes to a Word, Excel, or other file:
Step 1: Right-click on the file
Step 2: Select “Restore Previous Versions”
Step 3: Select the Previous Version
You can now retrieve the older version of the file.
Also read: How to Enable and Use Controlled Folder Access in Windows 11?
How to Change the Windows 11 File History Drive
If the old drive is full:
Step 1: Open File History
Step 2: Select “Select Drive“
Step 3: Select the New Drive
Step 4: Click OK
Now, the new backup will be stored on the new drive.
How to Back Up to a Network Location
If you have a NAS or a Shared Folder at your office or home:
Step 1: Open File History
Step 2: Select Drive
Step 3: Add Network Location
Step 4: Select the Shared Folder
Now, the backup will be saved on the network.
Windows File History Not Working? Solutions
1. Drive Not Detected
Unplug the USB drive and plug it back in.
Connect it to a different port.
Check in Disk Management.
2. “Turn On” Button Not Visible
Format the drive.
Ensure it is formatted as NTFS.
Then, try again.
3. Backup is Slow
Use a USB 3.0 port.
Use an SSD drive.
Reduce the number of large files being backed up.
4. File History Keeps Stopping
Run Windows Updates.
Go to “Services” and restart the File History Service.
File History vs. OneDrive Backup
| Feature | File History | OneDrive |
| —————– | ————— | ——– |
| Offline Backup | Yes | No |
| External Drive | Yes | No |
| Cloud Access | No | Yes |
| Previous Versions | Yes | Yes |
| Free Storage | Depends on Drive | Limited |
Best Practice: Use a combination of both.
Best Practices for Windows 11 Data Security
1. Perform Weekly Backups
If your data is critical.
2. Keep External Drives Separate
Do not keep them connected to the system constantly.
3. Maintain Cloud Backups as Well
Use OneDrive or Google Drive.
4. Keep Antivirus Software Installed
This protects against ransomware.
5. Test the Backup
Perform a restore to verify whether the files are intact.
Which Files You Must Back Up
Office Documents
GST / Business Data
Photos and Videos
Project Files
Bank Statements
Resume
Client Files
Personal Documents
Does File History Create a Complete Windows Backup?
No, File History is primarily designed for User File Backups.
If you require a complete system backup, use:
System Image Backup
Recovery Drive
Third-Party Backup Tools
Is File History Secure?
Yes, it is an official Microsoft feature and functions securely within Windows 11. It creates local backups, so an internet connection is not required.
Conclusion
File History in Windows 11 is an extremely useful feature for data protection. By performing regular backups, we can easily recover critical files in the event of a hard drive failure, virus attack, accidental deletion, or system crash.
We recommend that every Windows 11 user enable File History immediately and begin backing up to an external drive. It is a simple, fast, and reliable solution.
FAQ – Frequently Asked Questions
1. What is Windows File History?
Windows File History is a built-in backup feature in Windows 11 that automatically creates backups of your important files, such as Documents, Photos, Videos, and Desktop data.
2. Is Windows File History available in Windows 11?
Yes, the File History feature is available in Windows 11 and can be accessed via the Control Panel.
3. What is required to start File History?
To use it, you need an external hard drive, USB drive, SSD, or network location where the backups can be saved.
4. Does File History perform automatic backups?
Yes, once enabled, it continues to automatically create backups at scheduled time intervals.
5. Can deleted files be recovered?
Yes, if a backup of the file was created previously, you can restore it.
6. Can I retrieve an older version of a file?
Yes, File History saves older versions, allowing you to restore a previous version of a file.
7. Can File History backups be saved to a pen drive?
Yes, provided the pen drive has sufficient storage capacity, it can be used for this purpose.
8. Is an internet connection required?
No, an internet connection is not required to create backups on an external drive or local storage.
9. Does File History create a complete Windows backup?
No, it primarily backs up personal files and user data; it does not create a complete system image backup.
10. Is File History secure?
Yes, it is an official Microsoft feature and operates securely within Windows 11.
11. How often can backups be performed?
You can choose backup intervals of 10 minutes, 30 minutes, 1 hour, or daily.
12. Can backups be created on a Network Drive?
Yes, File History supports backing up to a network location or a NAS drive as well.
13. What should I do if the external drive becomes full?
You can resolve this issue by deleting old backup files or by selecting a new, larger storage drive.
14. Is this feature free?
Yes, File History is a free and built-in feature of Windows 11.
15. Why use File History for data protection in Windows 11?
It is an easy, fast, and reliable method that ensures your important data remains secure at all times.