File sharing is an essential feature for Windows users, but sometimes we need to hide certain folders from other users. Creating a Hidden Share Folder not only protects your privacy but also protects your files from unauthorized access. In this guide, we will show you how you can create a Hidden Share Folder on Windows 11 and 10.
What is a Hidden Share Folder?
A Hidden Share Folder is a folder that other users cannot see, even if they are connected to your device. It can only be accessed by users who have the right permission and name.
Steps to Create Hidden Share Folder on Windows 11 and 10
1. Prepare the Folder
First, choose a folder you want to share and hide. If you haven’t created the folder already, follow the steps below:
Step 1: Right-click on the desktop or a drive.
Step 2: Click “New” and select “Folder”.
Step 3: Give your folder a suitable name, such as “PrivateFiles”.
2. Sharing the Folder
Now share your folder so it can be accessed over the network:
Step 1: Right-click on the folder and select “Properties”.
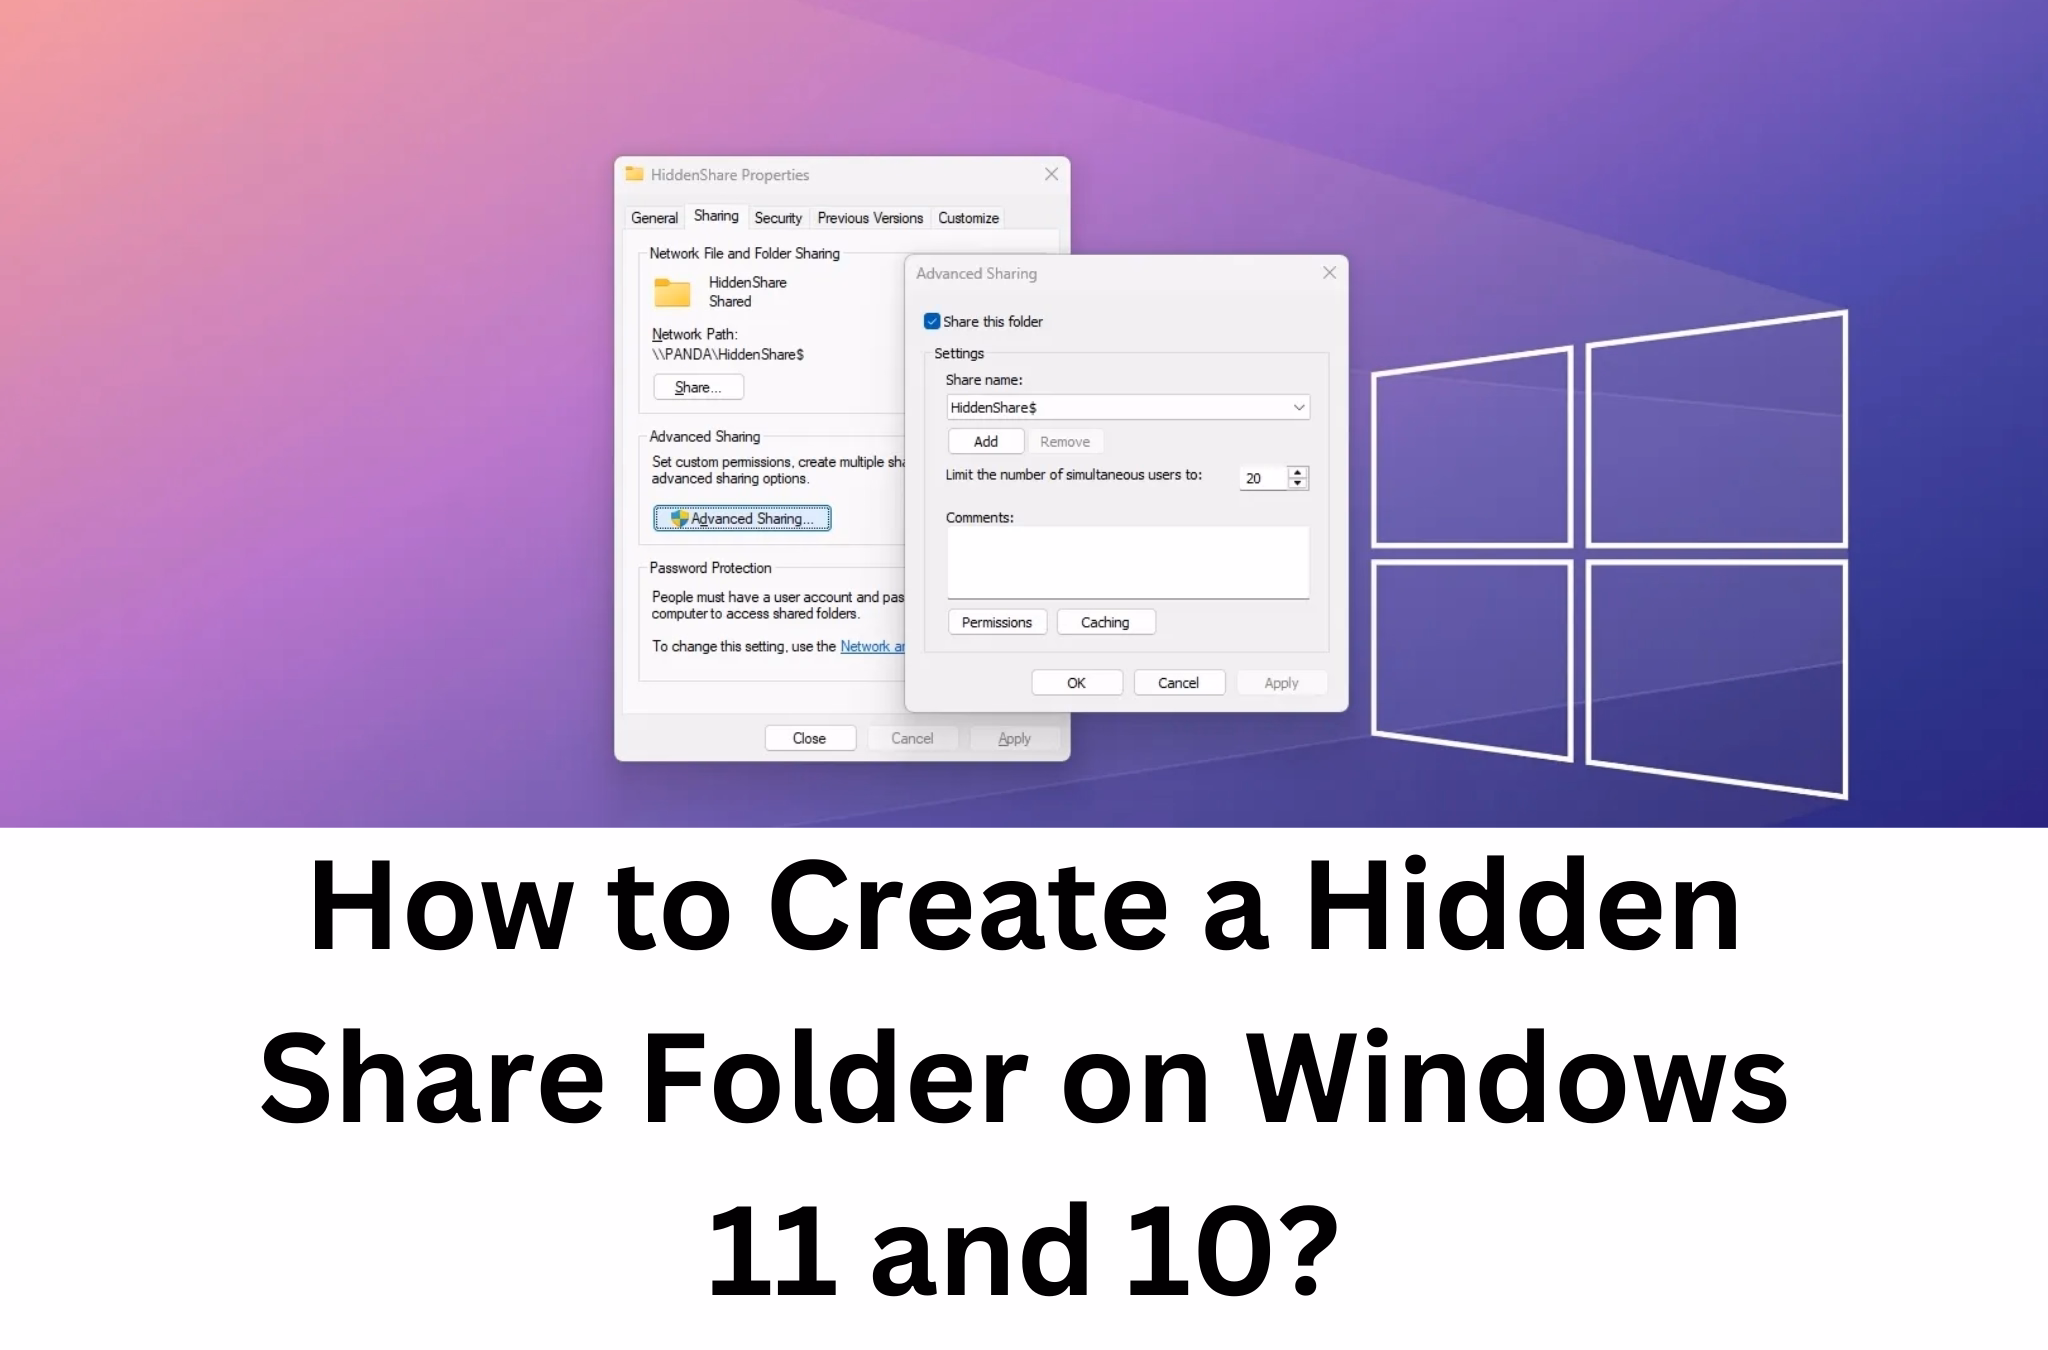
Step 2: Go to the “Sharing” tab and click “Advanced Sharing”.
Step 3: Put a checkmark on the “Share this folder” option.
Step 4: Enter the name of the folder in the “Share name” field. To create a Hidden Folder, add `$` to the end of the name, such as “PrivateFiles$”.
Step 5: Click the “Permissions” button and set the permission. If you only want to give yourself access, remove “Everyone” and add your username.
Step 6: Click “Apply” and then “OK”.
3. Confirm Hidden Share Folder
Your folder is now converted to Hidden Share. To confirm it:
Step 1: Browse the network from another device.
Step 2: Type `\\YourPCName\PrivateFiles$` to access the folder.
Step 3: If asked for authentication, enter your username and password.
Security Settings for Hidden Share Folder
1. Setting NTFS Permissions
NTFS permissions control folder access based on user and group:
Step 1: Right-click on the folder and open “Properties”.
Step 2: Go to the “Security” tab.
Step 3: Click the “Edit” button and set permissions for users.
2. Configuring Firewall Settings
Firewall settings protect your Hidden Share Folder from external threats:
Step 1: Open “Control Panel” and go to “Windows Defender Firewall”.
Step 2: Click “Allow an app or feature through Windows Defender Firewall”.
Step 3: Enable the services related to file sharing.
Tips to access Hidden Share Folder
Use UNC Path: Use UNC Path to access Hidden Share Folder, such as `\\ComputerName\FolderName$`.
Password Protection: Use strong passwords on your system.
Right Limitation: Make sure only trusted users are granted permission.
How to Delete Hidden Share Folder
If you want to delete the folder or stop hiding it:
1. Right-click on the folder and open “Properties”.
2. Go to the “Sharing” tab and open “Advanced Sharing”.
3. Remove the checkmark “Share this folder”.
4. Click “Apply” and “OK”.
Benefits of Using Hidden Share Folder
Privacy: Your important files are protected from other users.
Reducing network traffic: Only necessary users can access files.
Organized sharing: Hidden Share Folder helps protect your files from unauthorized use.
Precautions
Remember the folder name and `$`; without the correct name, the folder will not be visible.
Set the correct permissions to completely hide the Hidden Share Folder.
FAQ: Hidden Share Folder on Windows 11 and 10
1. What is a Hidden Share Folder?
A hidden Share Folder is a folder that other users cannot see on the network. It can only be accessed by those who have the correct name and permission.
2. How to create a Hidden Share Folder?
To create a Hidden Share Folder, add `$` to the end of the folder name when sharing it, such as `PrivateFiles$`. This will hide it on the network.
3. Who can access the Hidden Share Folder?
It can only be accessed by users who have the correct UNC Path (`\\ComputerName\FolderName$`) and the required permission.
4. How to set up a Hidden Share Folder for security?
NTFS Permissions: Give access only to trusted users.
Password Protection: Use strong passwords.
Firewall Settings: Configure the firewall correctly to protect against external threats.
5. How to find a Hidden Share Folder?
Hidden Share Folder cannot be seen in normal network browsing. Access it via UNC Path (`\\ComputerName\FolderName$`).
6. How to delete the Hidden Share Folder?
Right-click on the folder and go to “Properties”.
Open “Advanced Sharing” by going to the “Sharing” tab.
Deselect “Share this folder” and click “Apply”.
7. Why use Hidden Share Folder?
It ensures privacy and protects files from unauthorized access. It is ideal for companies and personal use.
8. Is Hidden Share Folder completely safe?
Hidden Share Folder is safe, but use strong passwords, correct permissions, and firewall settings to make it more secure.
9. How can other users see the Hidden Share Folder?
Hidden Share Folder can be viewed only if one uses the correct name and password along with UNC Path. It is not visible in normal network browsing.
10. Can Hidden Share Folder be accessed from mobile?
If the mobile device is on the network and the correct permission is set, then the Hidden Share Folder can be accessed using UNC Path.